Importing the example site package for the Approval Request Workflow
Description
This page introduces the procedure for importing the site package for the workflow function, which is explained in detail in the FAQ below, and actually trying it out.
FAQ: Implementing workflows (approval processes) such as approval requests
You can check the table configuration and server script settings on Pleasanter by downloading the site package and other data from the link below and importing it.
*In Pleasanter.net and the demo environment, even if you import the site package, you cannot try it out because the user ID and other settings are different. You can check the table configuration and server script settings.
You can download the following data used in the explanation on this page.
- Site package
- CSV for importing users
*Click here to download the entire data set
User Department Structure Chart
| Login ID | Name | Department | Executive | Senior Executive | Executive Employee | Applicant |
|---|---|---|---|---|---|---|
| Test1_User1 | Owada Asahi | Executive | ○ | |||
| Test1_User10 | Yamamoto Yoko | Development Dept. 1 | ○ | |||
| Test1_User11 | Nakamura Takashi | Development Dept. 1 | ○ | |||
| Test1_User12 | Yoshida Yu | Development Dept. 1 | ○ | |||
| Test1_User20 | Ito Daisuke | Development Dept. 2 | ○ | |||
| Test1_User21 | Sasaki Haruka | Development Dept. 2 | ○ | |||
| Test1_User22 | Murakami Kana | Development Dept. 2 | ○ |
Step 1: Import Site Packages
Import the downloaded example of approval management (workflow example).json.
To import a site package, you need manager privileges.
Site Function: Export/Import Site Package
Step 2: Create A Department
Open department management and create a department as follows.
The script will use the following department ID to obtain the executives, so if the department ID is different from the following, you will need to modify the script.
The applicant's department will be obtained from the login information, so the department IDs for Development Division 1 and Development Division 2 below can be different.
| Department ID | Department name |
|---|---|
| 2 | Executives |
| 3 | Development Division 1 |
| 4 | Development Division 2 |
Step 3: Import Users
Open User Management and import the downloaded User List Import.csv file.
Please confirm that the users are registered as follows.
| Department name | Members |
|---|---|
| Executives | Owada Asahi |
| Development Division 1 | Yamamoto Yoko |
| Development Division 1 | Nakamura Takashi |
| Development Division 1 | Yoshida Yui |
| Development Division 2 | Ito Daisuke |
| Development Division 2 | Sasaki Haruka |
| Development Division 2 | Murakami Kana |
The login password for all of the above users is pleasanter, so please check whether you can log in with each user.
This time, we will explain the scenario in which Yoshida Yui, a user of Development Division 1, applies for approval.
If the folder called "Approval Document Management Examples" does not appear even if you log in as Yoshida Yui, log in as the user who imported the site package and check the access permissions for the site.
Site Access Control
Step 4: Create A Group and Register Members
Open Group Management and create the two groups shown below.
The script will use the following group IDs to set the approval route, so if your group IDs are different, you will need to modify the script.
After creating the groups, add members to each group as follows.
| Group ID | Group name | Members |
|---|---|---|
| 3 | Executive | Nakamura Takashi |
| 3 | Executive | Sasaki Haruka |
| 4 | Senior executive | Yamamoto Yoko |
| 4 | Senior executive | Ito Daisuke |
Procedure for Submitting An Approval Request
Log in as Yoshida Yui (Test1_User12) and open the example table for approval request management created by importing the site package.
Click Create, and enter "Purchase of a computer" as the title and 150,000 JPY as the amount as an example, and click the Create button at the bottom of the window.
When the record is created, the "Apply" button and the "For executives" field will be displayed below the "Initiator" input field.
In this example, the amount of the request is less than 200,000 JPY, so Nakamura Takashi, a senior employee of the department, will be the approver.
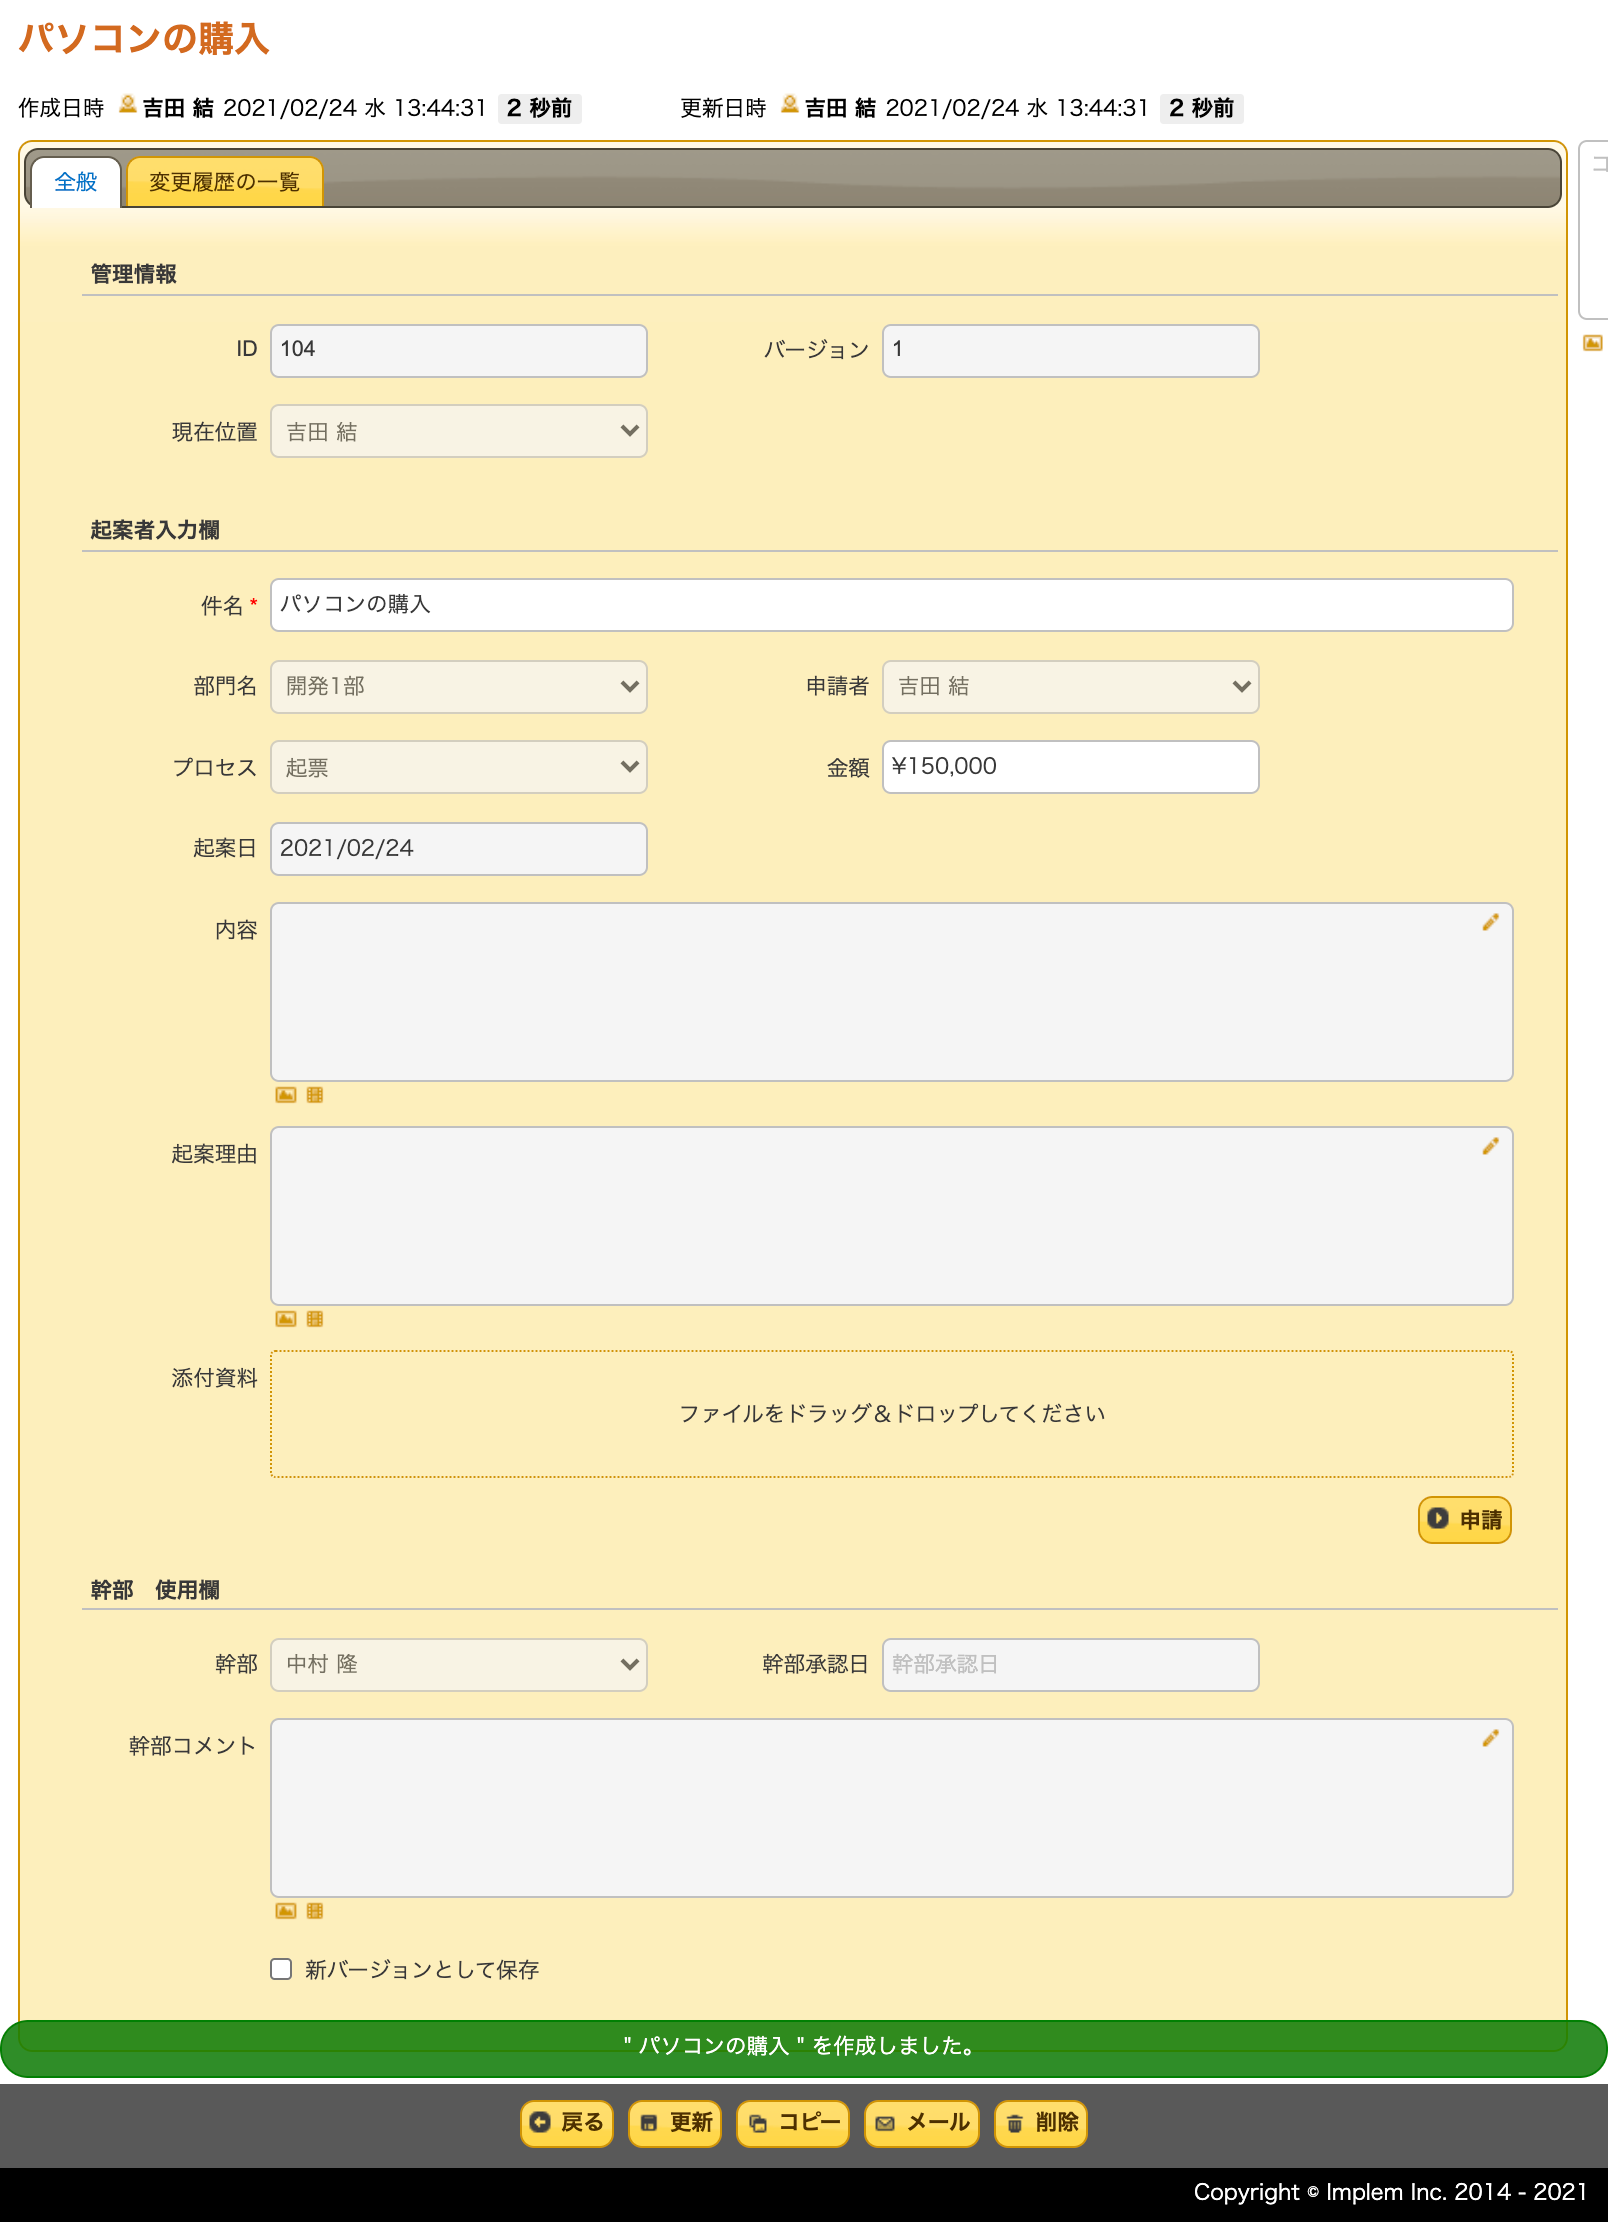
By clicking the Request button, a notification email is sent to the approver stating "The above approval request has been received," and the current location is updated to the approver, Nakamura Takashi.
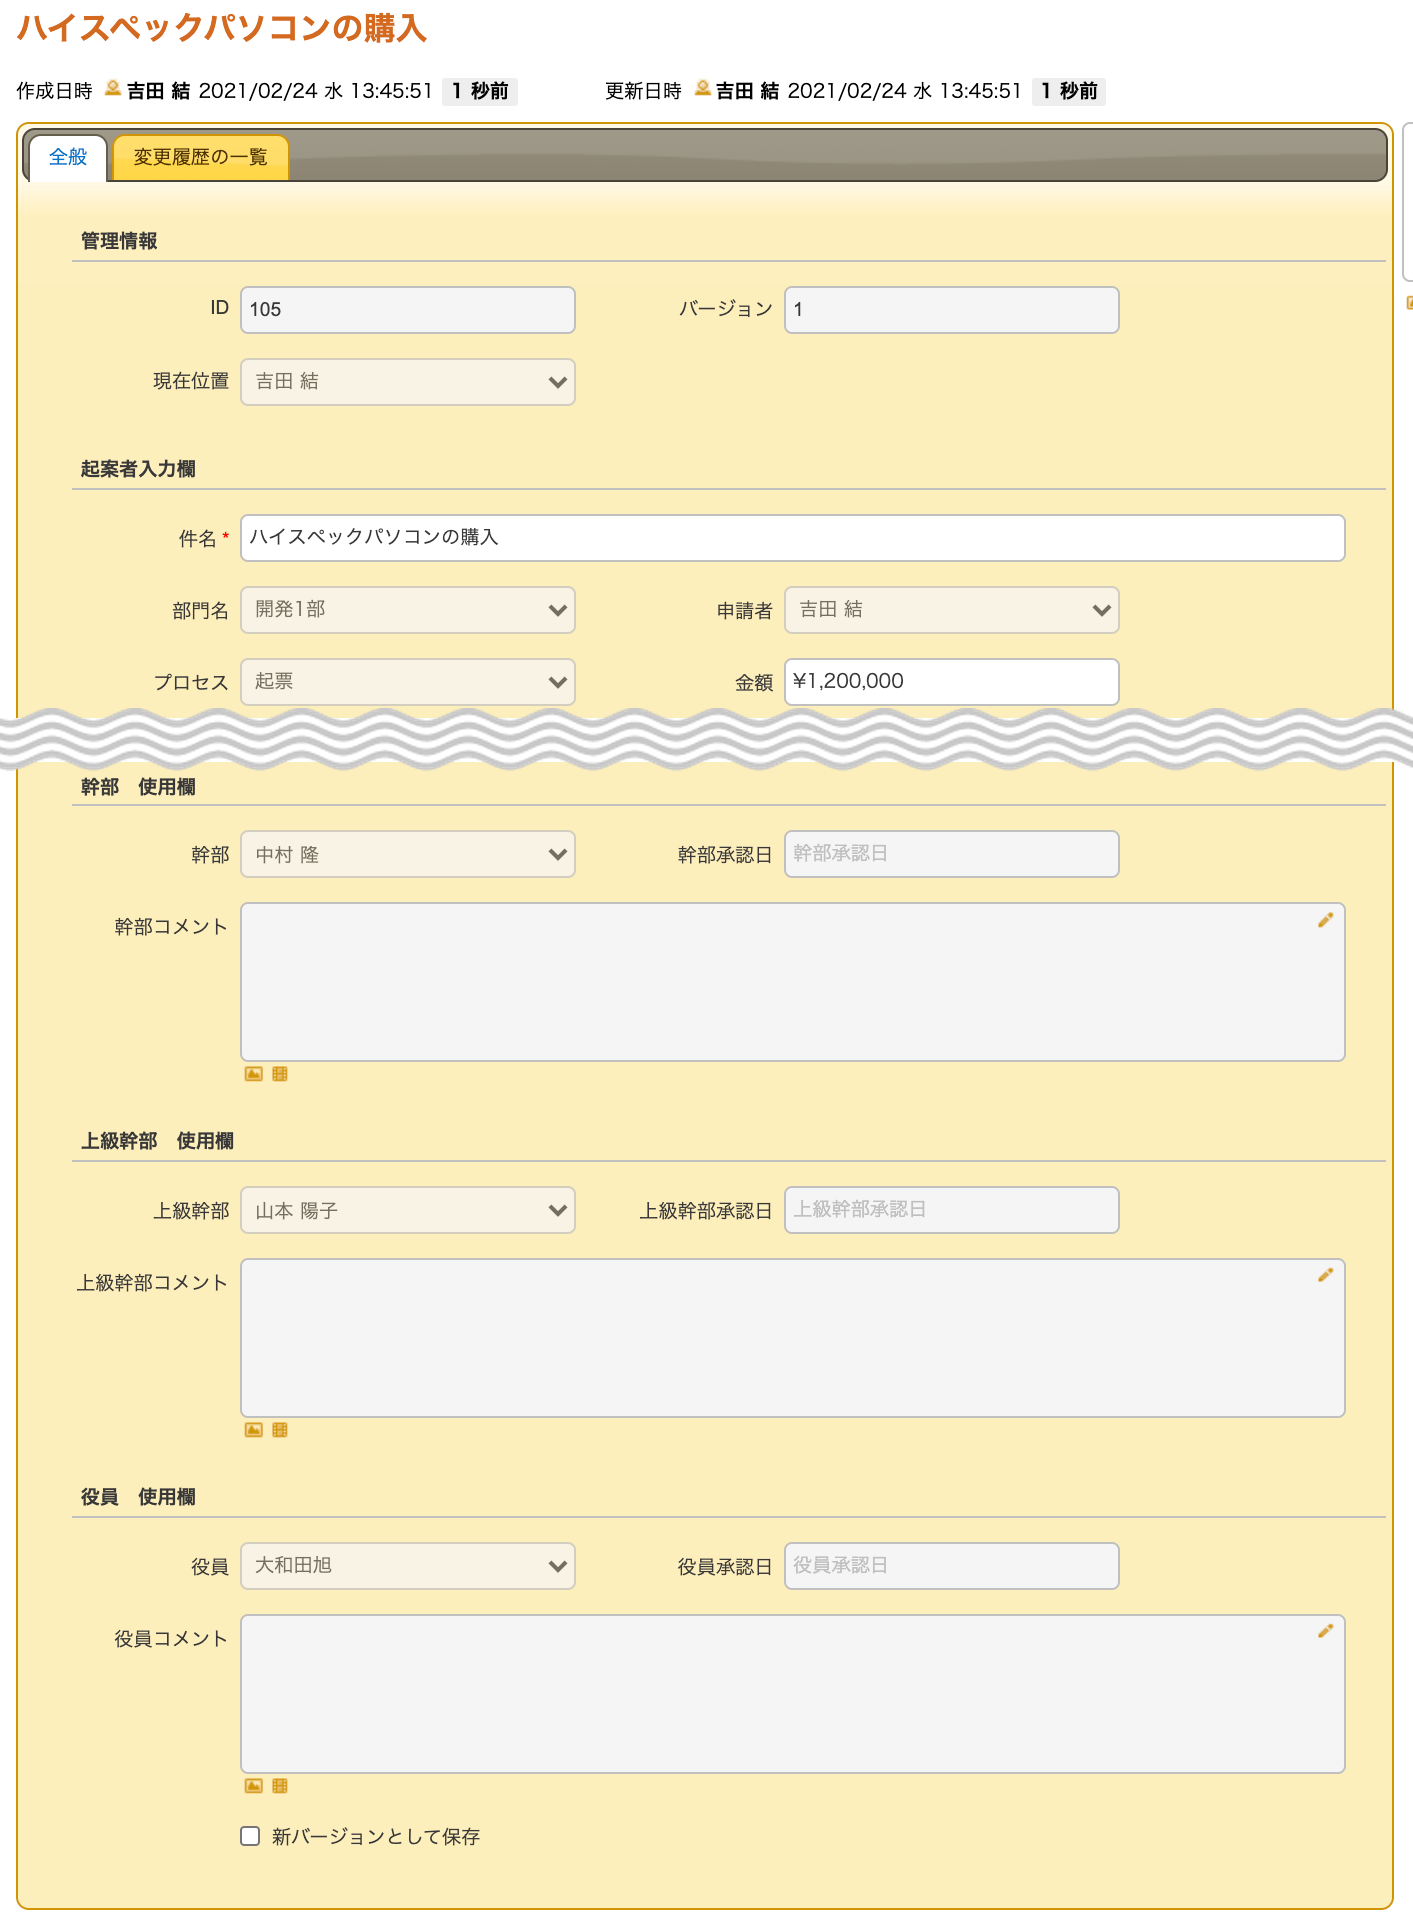
If the amount of the request is 1,000,000 JPY or more, the approval route is automatically set as follows: senior employee, senior executive, and officer.
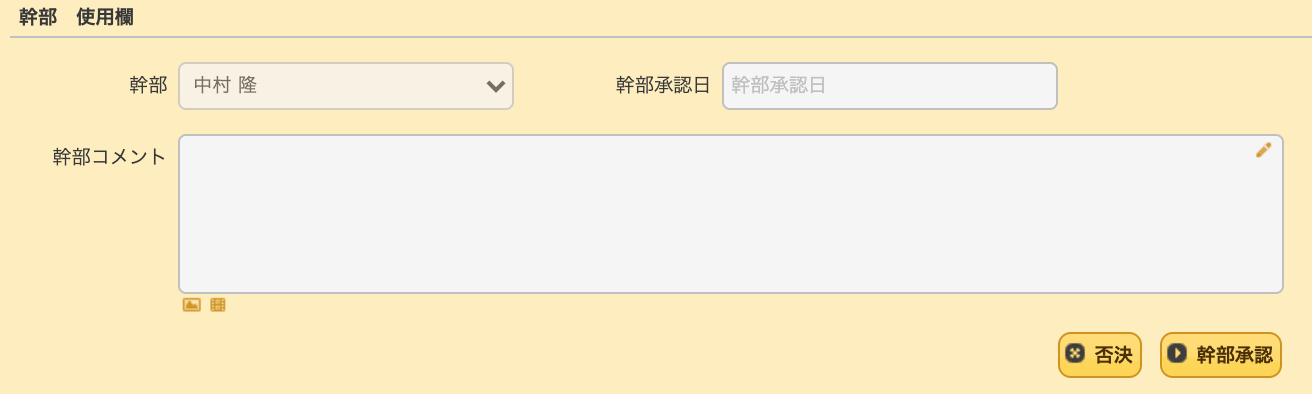
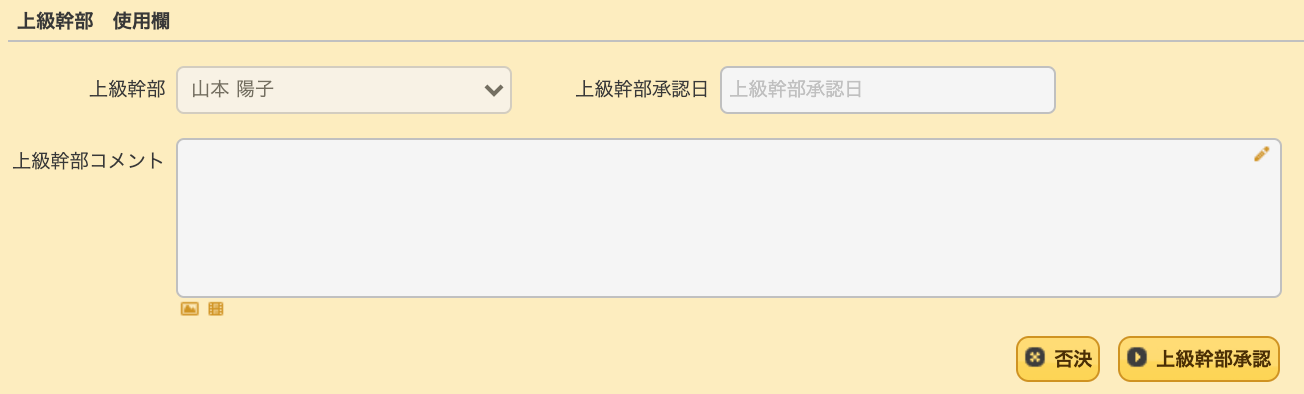
If you log in as Nakamura Takashi (Test1_User11), a senior employee who is the first approver of the approval route, and open the above record, the Reject and Executive Approval buttons will be displayed in the Executive Use column.
*This sample does not implement rejection processing.
As senior employee Nakamura Takashi approves, the approval route is updated to show the second approver, senior executive Yamamoto Yoko, as the current position.

The steps to the decision maker will proceed through the approval route set up in this way.
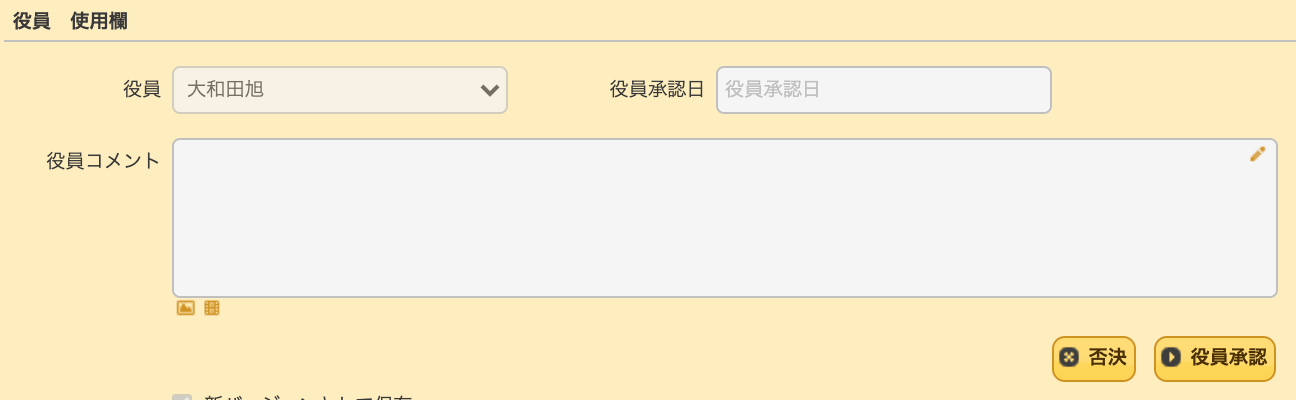
In this example, the application is registered as completed when the decision-maker, Owada Akira, approves it, and the record is updated to read-only.
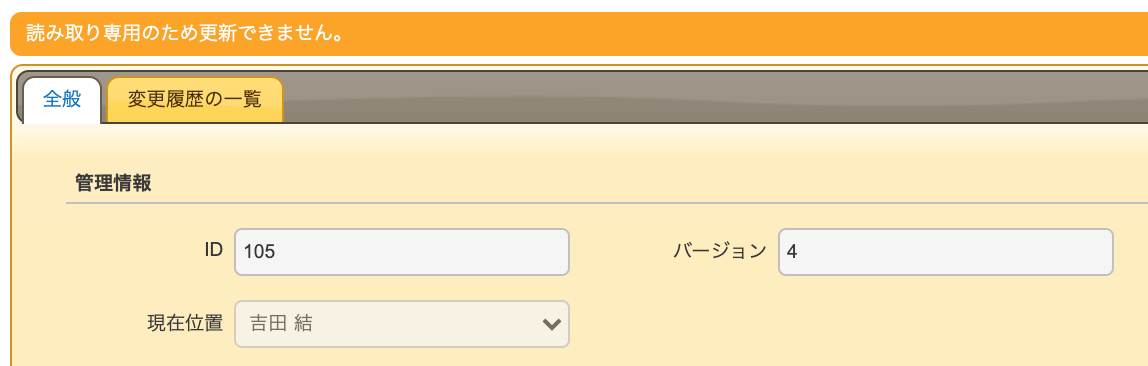
The screen displays "read-only," and the current location is returned to the applicant, Yoshida Yui.