Creating a Work Folder by Command
Overview
This page explains how to create a work folder with the "Pleasanter Code Assist" command "PCA: Create Pleasanter Code Assist Directories". There are two ways to create it, so use either procedure.
Operation 1: Run the Command from the Command Palette
-
Create the base folder in advance with File Explorer or a similar tool. (In the example below, "sampleRoot" is created under C:\pleasanter as the base folder.)

-
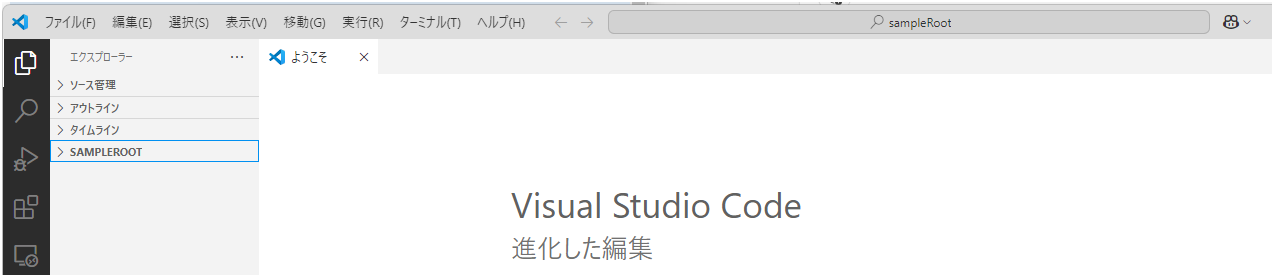
In Visual Studio Code, click "File" - "Open Folder" and select the base folder created in step 1. The base folder you selected (in the example below, "SAMPLEROOT") is shown in the Explorer bar.
-
Open the Command Palette, enter "PCA: Create Pleasanter Code Assist Directories" and run it. You can select it once you have typed part of the name. Open the Command Palette with the F1 key or a shortcut key (Windows/Linux: Ctrl+Shift+P key, macOS: Cmd+Shift+P key).

-
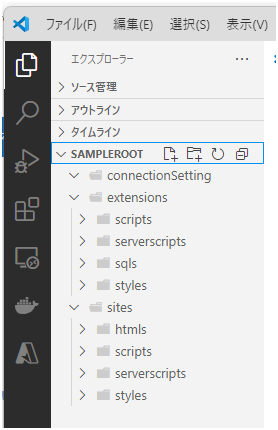
After the command runs, the work folders are created as follows.
Operation 2: Run the Command from the Context Menu
-
In Visual Studio Code, click "File" - "Open Folder" and open any folder. (In the example below, C:\pleasanter is opened.)

-
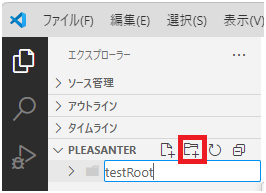
Create the base folder in the Explorer bar. (In the example below, "testRoot" is created.)
-
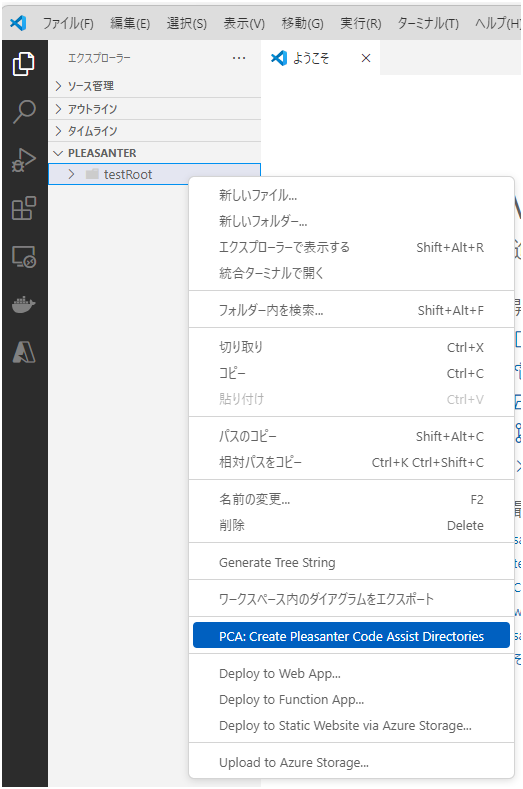
Right-click the base folder you created and select "PCA: Create Pleasanter Code Assist Directories".
-
After you select it, the work folders are created as follows.
