Install Pleasanter in a serverless configuration on Azure App Service using the installer
Overview
This procedure is for building a Pleasanter operating environment using the "Installer". You can also install it using the previous procedure of manually placing modules and setting parameters. Please refer to the following for manual installation procedures.
Install Pleasanter on Azure App Service with serverless configuration
| Target | Environment/Version |
|---|---|
| Web | Microsoft Azure App Service |
| DB | Microsoft Azure SQL Database |
| ランタイムスタック | .NET 10 |
| Pleasanter | 1.5.0.0 or later |
Limitations
- Installation using the "Installer" is for version 1.5.0.0 or later. Please refer to the manual installation procedures when installing version 1.4.23.3 or earlier.
Install Pleasanter on Azure App Service with serverless configuration
Prerequisites
- You can log in to the Azure Portal.
- One instance of Microsoft Azure App Service (Windows/.NET 10) is prepared.
- One instance of Microsoft Azure SQL Database is prepared.
- The connection string for Microsoft Azure SQL Database is prepared.
- The firewall settings for Microsoft Azure SQL Database allow connections from App Service and PC.
Procedure
The construction procedure is as follows.
- .NET settings
- Install the installer
- Set up Pleasanter
- Check that Pleasanter is running
1. .NET Settings
- Connect to the Azure Portal.
- Open App Service.
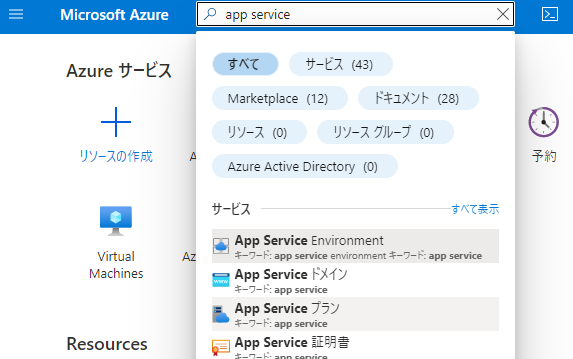
- Select the App Service instance you created.
-
Open "General Settings" in the "Configuration" menu and set it as shown below.
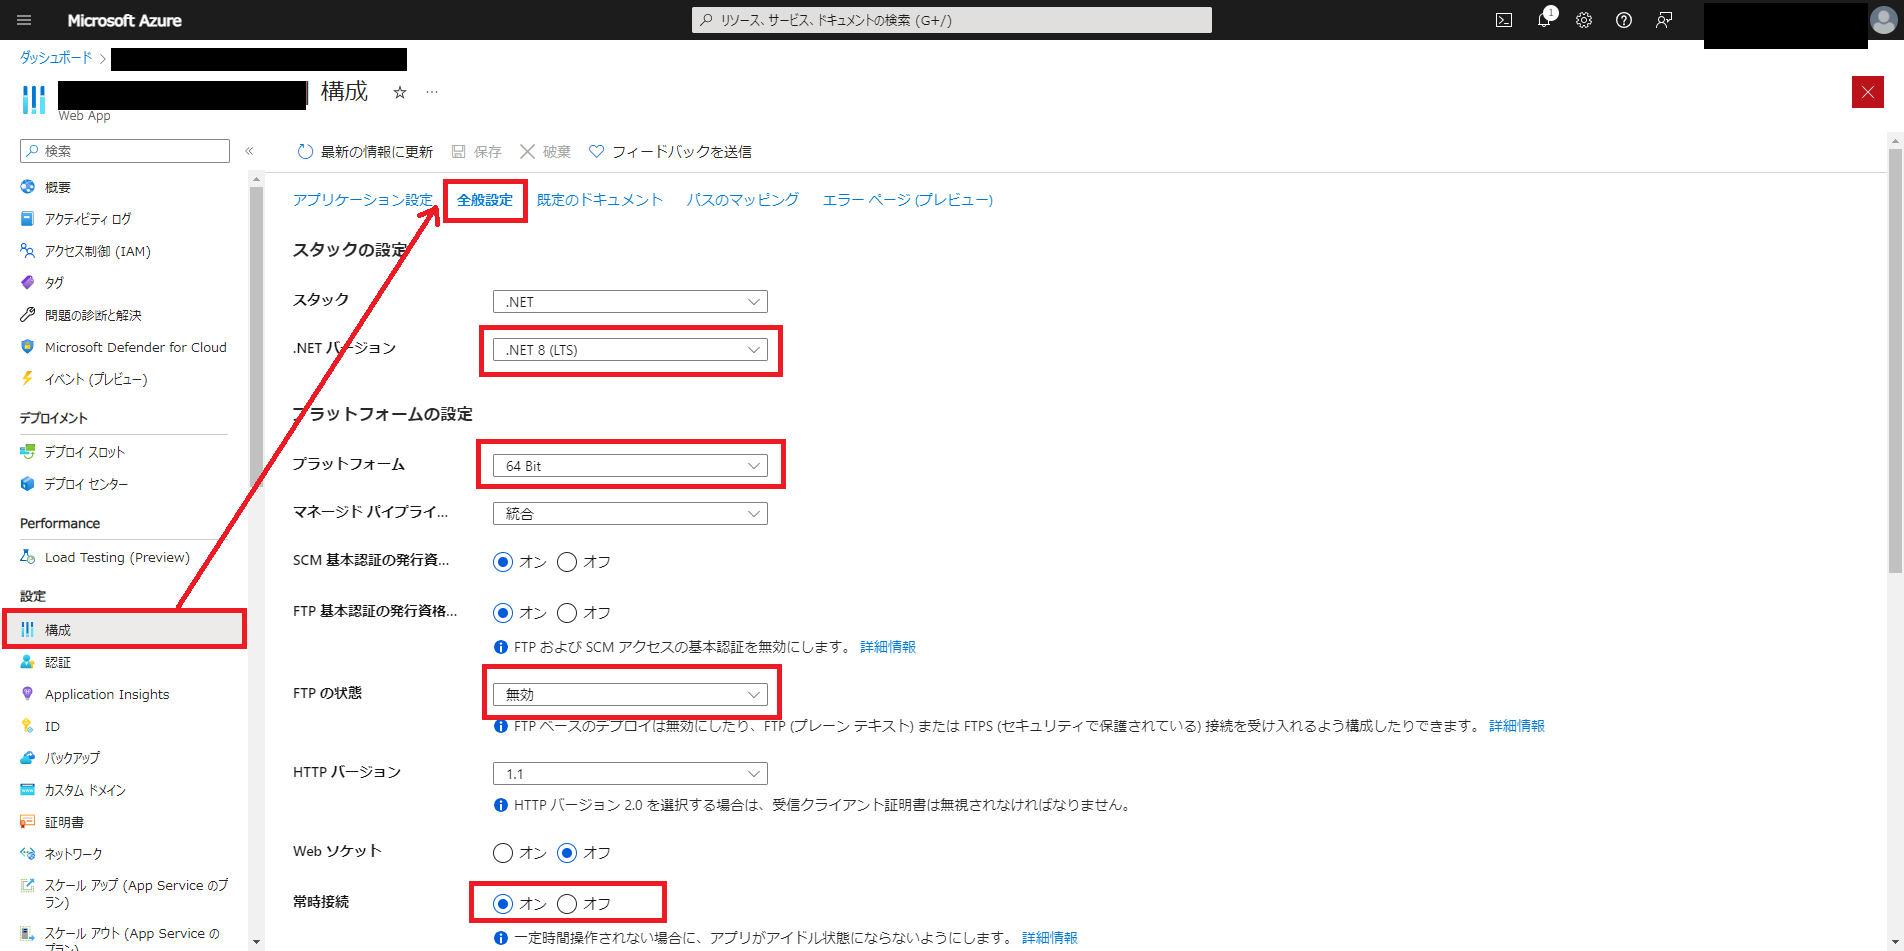
Column Settings .NET version .NET 10 (LTS) Platform 64bit FTP status Disabled Always connected On
2. Install the Installer
- Stop the instance in App Service.
- Access Kudu.
- Click "Advanced Tools" from "Developer Tools" in the left menu of App Service
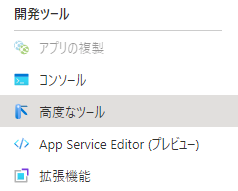
- Click the "Move" link

- Click "Debug console" > "CMD" from the Kudu header menu

- Install the installer. (Depending on the user, it may be D:\home. In that case, please read accordingly.)
- Open the Nuget Gallery for Implem.PleasanterSetup from here and download the .nupkg file from "Download package".

- Execute the following command to create a folder of your choice to install the installer.
※This procedure explains how to create C:\home\dotnet-tools.
- Place the .nupkg file downloaded in 2.4.1 in C:\home\dotnet-tools.
- Execute the following command to install the installer.
- Set the path.
- Open the Nuget Gallery for Implem.PleasanterSetup from here and download the .nupkg file from "Download package".
3. Setting up Pleasanter
※By using the installer, the latest version resources will be automatically downloaded and the values of Service.json and Rds.json will be automatically set based on the values you entered.
-
Run the installer by executing the following command.
-
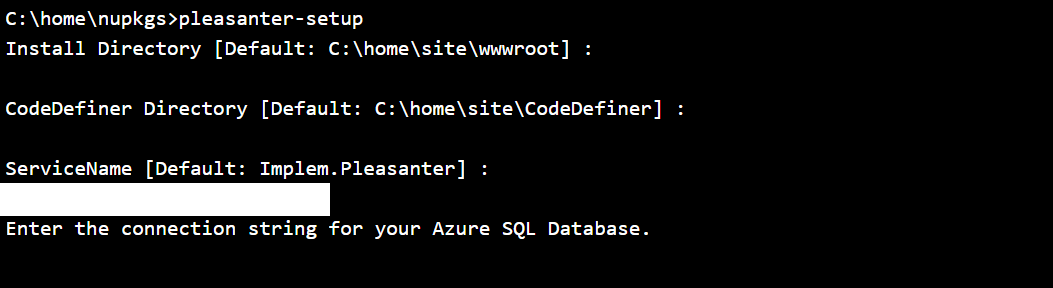
Enter the directory where you want to install Pleasanter.
If you want to install it in "C:\home\site\wwwroot", leave it blank and press Enter.

-
Enter the directory where you want to install CodeDefiner.
If you want to install it in "C:\home\site\CodeDefiner", leave it blank and press Enter.

-
Enter the service name.
Enter the database name created in Azure.
If you are using "Implem.Pleasanter", leave it blank and press the Enter key.

-
Enter the connection string.
※ Enter the full Microsoft Azure SQL Database connection string.
-
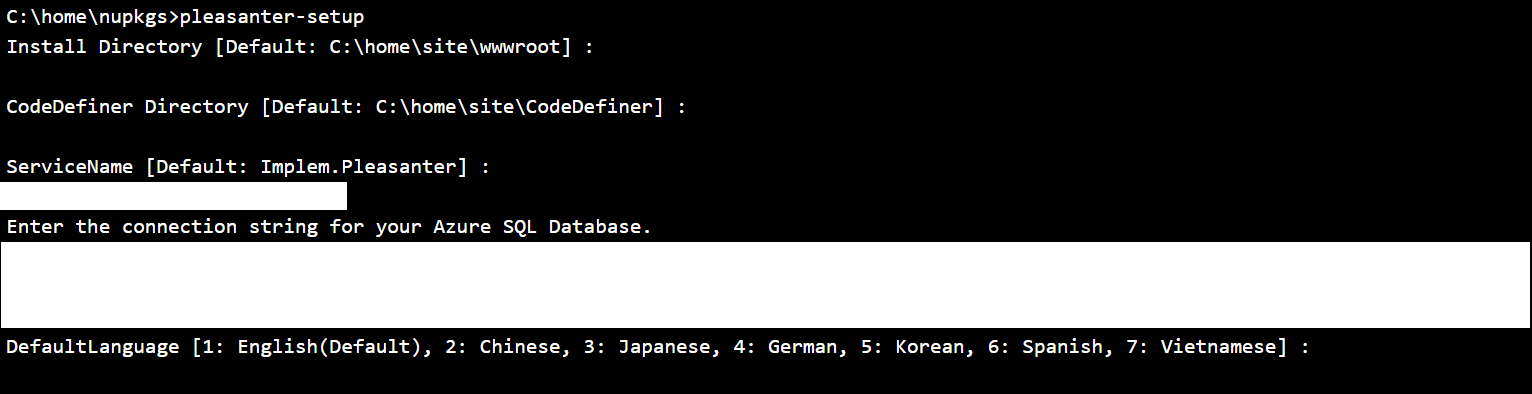
Enter the default language.
Enter the number of the corresponding language.
-
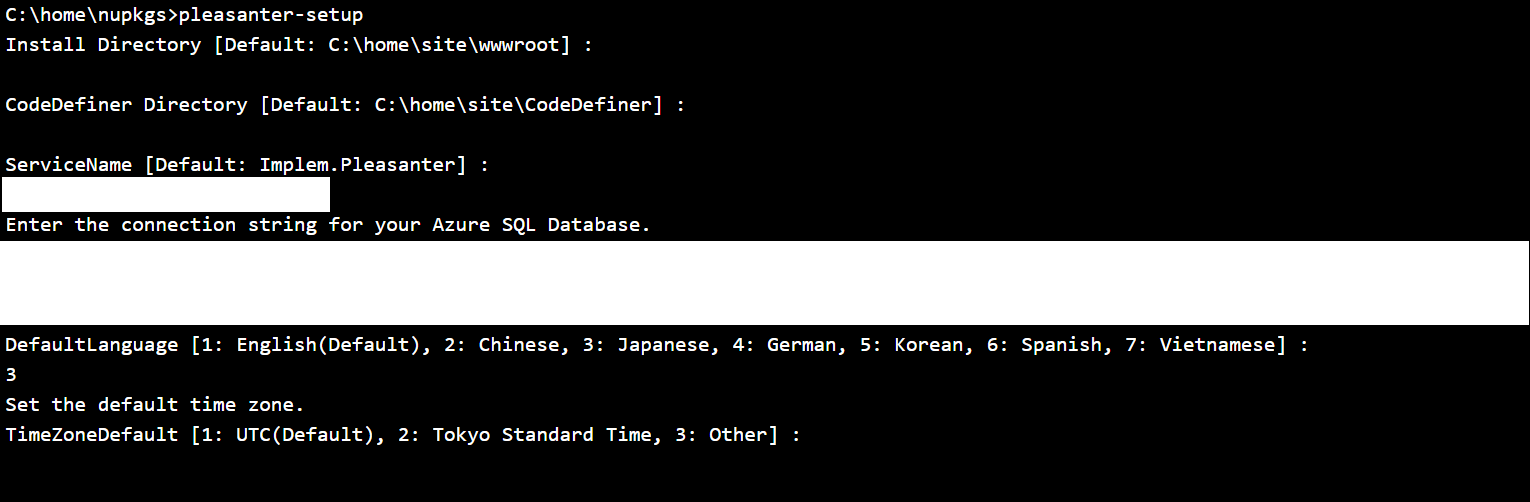
Enter the default time zone.
Enter the number for the corresponding language.
-
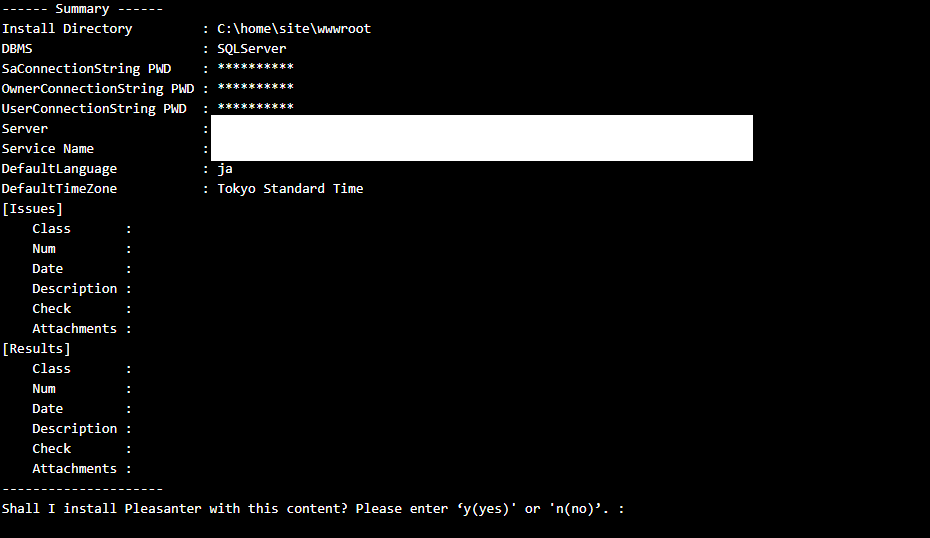
The summary screen will be displayed.
If the entered values are correct, enter y after "Shall I install Pleasanter with this content? Please enter ‘y(yes)' or 'n(no)'. : " and press Enter.
※The password is masked.
-
After execution, the following log will be displayed.
Shall I install Pleasanter with this content? Please enter ‘y(yes)' or 'n(no)’. : y Download Pleasanter Downloaded Pleasanter_1.5.0.0.zip to C:\home\site\Pleasanter_1.5.0.0.zip Start setting parameters Finish setting parameters <INFO> Starter.Main: Implem.CodeDefiner 1.5.0.0 <INFO> Configurator.OutputLicenseInfo: ServerName: Database: Deadline: 1/1/0001 Licensee: Users: 0 <INFO> Configurator.OutputLicenseInfo: This edition is "Community Edition". Type "y" (yes) if the license is correct, otherwise type "n" (no). -
When the message "Type "y" (yes) if the license is correct, otherwise type "n" (no)" appears, enter y and execute.
-
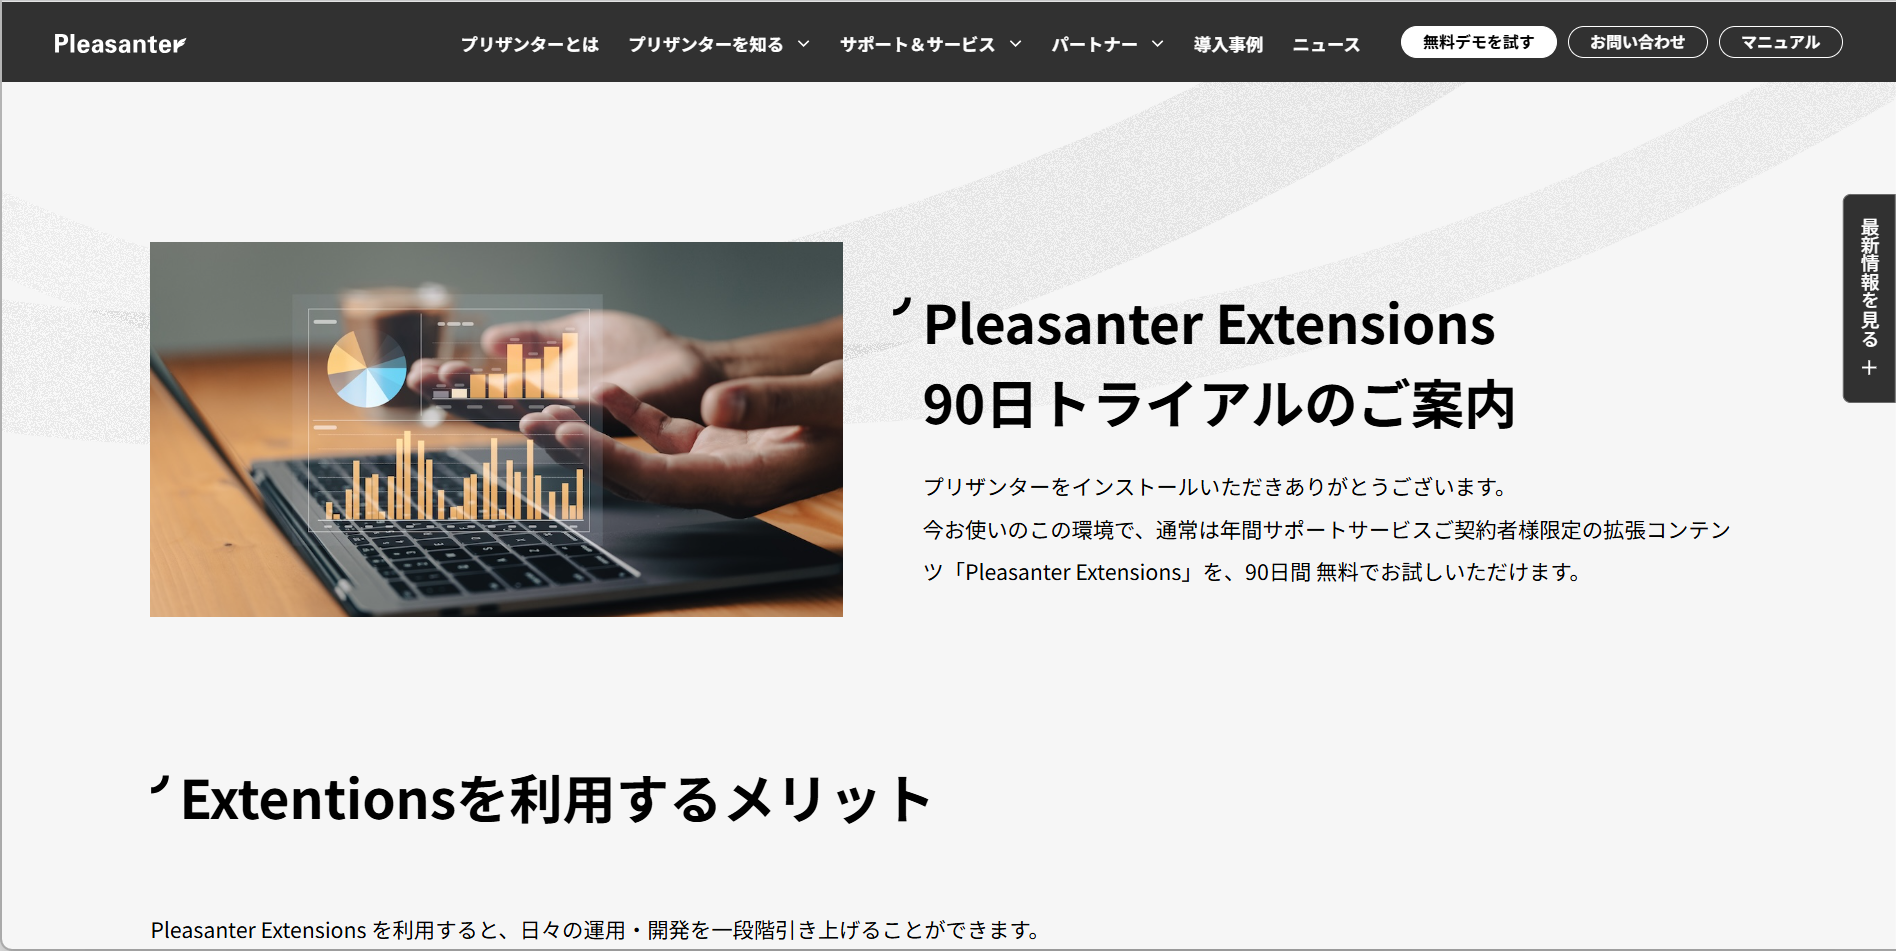
When setup is complete, a web browser will launch and display the Enterprise Edition trial information page.
4. Check that Pleasanter is running
-
Start the instance in App Service.
-
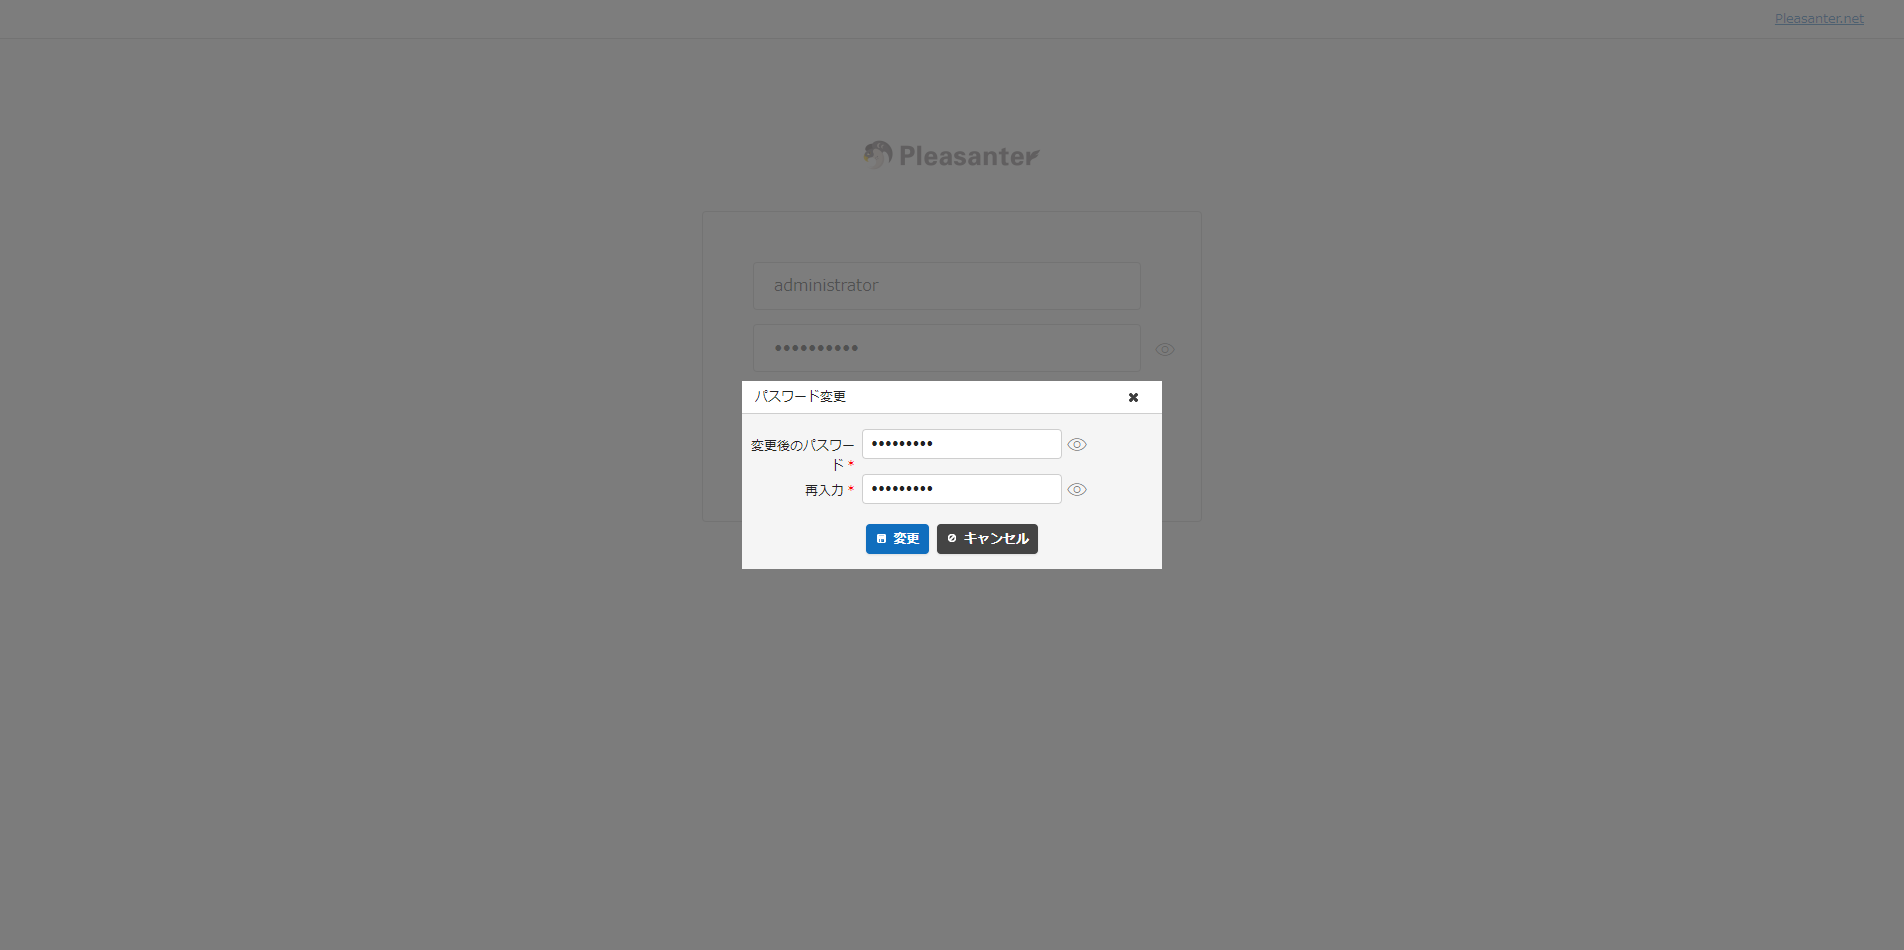
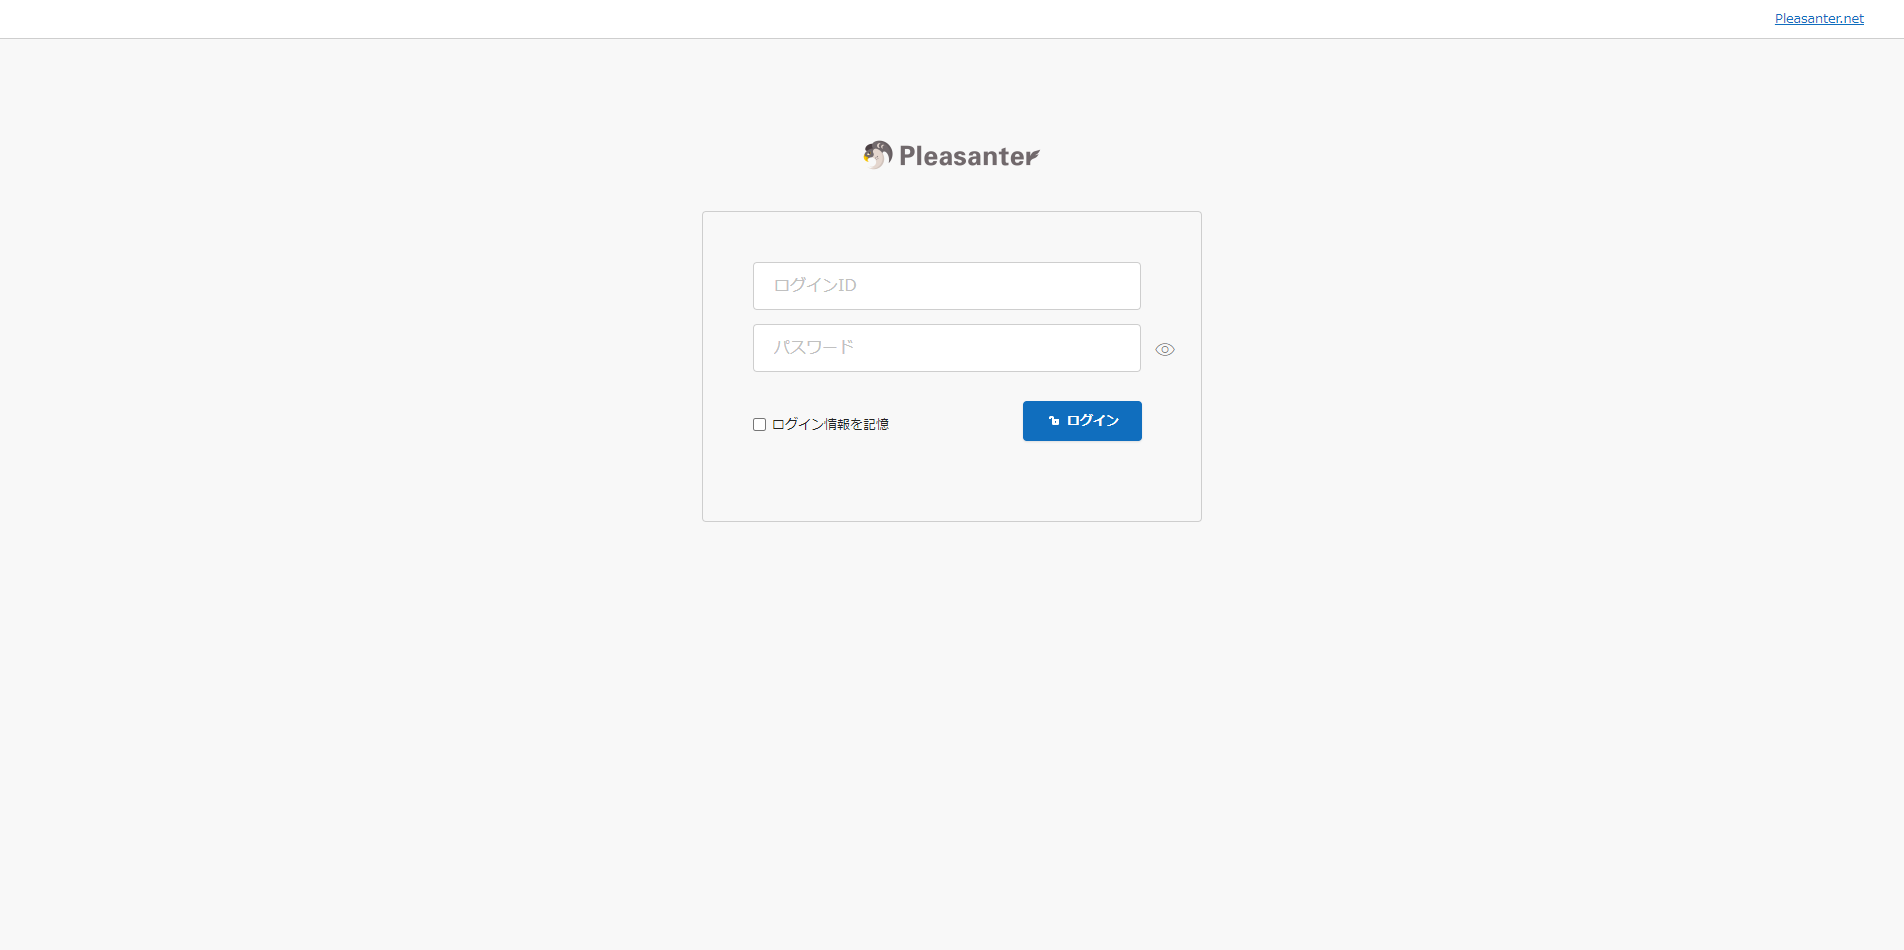
Open the Pleasanter login screen in your browser, enter "Login ID: Administrator" and "Initial password: pleasanter", and click the "Login" button.
-
After logging in, you will be asked to change the "Administrator" user password, so enter a password of your choice and click the "Change" button.