Launch with Docker
Cautions
- If you are using ver1.4.5 or earlier, please refer to the following page as the CodeDefiner commands have been changed.
About CodeDefiner Steps for Initial Installation in ver1.4.6 and Later
Prerequisites
- For instructions on changing Pleasanter parameter values and launching with Docker, please refer to "Use a Docker Image and Start It by Changing the Parameters from the Default".
- This procedure uses PostgreSQL as the database. For instructions using MySQL, please refer to "Use a Docker image and start it with MySQL as the DB".
Overview
This document explains the procedure for launching Pleasanter using the official Pleasanter Docker image.
https://hub.docker.com/r/implem/pleasanter
The following two patterns are explained:
1. Launch Pleasanter with Default Environment Settings
2. Configure Environment Settings and Launch Pleasanter
1. Launch Pleasanter with Default Environment Settings
If you want to try Pleasanter immediately or just get started, please follow this procedure to launch Pleasanter.
Note: When transitioning to production, be sure to review and update the passwords for administrative users and all connection strings.
Overview
Explain the steps to quickly use the Docker version of Pleasanter with the following default environment settings.
| No. | Setting | Parameter | Value | Notes |
|---|---|---|---|---|
| 1 | PostgreSQL version | POSTGRES_VERSION | 17 | |
| 2 | Admin user password for PostgreSQL | POSTGRES_PASSWORD | SetSaPWD | |
| 3 | Password in the SA connection string | PWD in Implem_Pleasanter_Rds_PostgreSQL _SaConnectionString | SetSaPWD | Set the same value as in No. 2 |
| 4 | Password in the Owner connection string | PWD in Implem_Pleasanter_Rds_PostgreSQL _OwnerConnectionString | SetAdminsPWD | |
| 5 | Password in the User connection string | PWD in Implem_Pleasanter_Rds_PostgreSQL _UserConnectionString | SetUsersPWD | |
| 6 | Pleasanter version | PLEASANTER_VERSION | latest | Fetch the latest version available at the time of use |
| 7 | Pleasanter language | The /l option for CodeDefiner | "ja" | |
| 8 | Pleasanter timezone | The /z option for CodeDefiner | "Asia/Tokyo" |
Procedure
The procedure is as follows.
- Preparing the Docker Runtime Environment
- Create and navigate to project directory
- Create 2 files
- Run CodeDefiner
- Start and stop Pleasanter
1. Preparing the Docker Runtime Environment
Prepare a Docker runtime environment suitable for your OS (e.g., Docker Engine or Docker Desktop). For details, refer to the official Docker documentation below.
- Docker Engine | Docker Docs
- Docker Desktop | Docker Docs
2. Create and navigate to project directory
Execute the following commands.
3. Create 2 files
Create two files ".env" and "compose.yaml" in the project directory.
.env
Open .env with a text editor, paste the following content, and save.
POSTGRES_VERSION=17
POSTGRES_VOLUMES_TARGET=/var/lib/postgresql/data
POSTGRES_USER=postgres
POSTGRES_PASSWORD=SetSaPWD
POSTGRES_DB=postgres
POSTGRES_HOST_AUTH_METHOD=scram-sha-256
POSTGRES_INITDB_ARGS="--auth-host=scram-sha-256"
PLEASANTER_VERSION=latest
Implem_Pleasanter_Rds_PostgreSQL_SaConnectionString="Server=db;Database=postgres;UID=postgres;PWD=SetSaPWD"
Implem_Pleasanter_Rds_PostgreSQL_OwnerConnectionString="Server=db;Database=#ServiceName#;UID=#ServiceName#_Owner;PWD=SetAdminsPWD"
Implem_Pleasanter_Rds_PostgreSQL_UserConnectionString="Server=db;Database=#ServiceName#;UID=#ServiceName#_User;PWD=SetUsersPWD"
compose.yaml
Open compose.yaml with a text editor, paste the following content, and save.
services:
  db:
    container_name: postgres
    image: postgres:${POSTGRES_VERSION}
    environment:
      - POSTGRES_USER
      - POSTGRES_PASSWORD
      - POSTGRES_DB
      - POSTGRES_HOST_AUTH_METHOD
      - POSTGRES_INITDB_ARGS
    volumes:
      - type: volume
        source: pg_data
        target: ${POSTGRES_VOLUMES_TARGET}
  pleasanter:
    container_name: pleasanter
    image: implem/pleasanter:${PLEASANTER_VERSION}
    depends_on:
      - db
    ports:
      - '50001:8080'
    environment:
      Implem.Pleasanter_Rds_PostgreSQL_SaConnectionString: ${Implem_Pleasanter_Rds_PostgreSQL_SaConnectionString}
      Implem.Pleasanter_Rds_PostgreSQL_OwnerConnectionString: ${Implem_Pleasanter_Rds_PostgreSQL_OwnerConnectionString}
      Implem.Pleasanter_Rds_PostgreSQL_UserConnectionString: ${Implem_Pleasanter_Rds_PostgreSQL_UserConnectionString}
  codedefiner:
    container_name: codedefiner
    image: implem/pleasanter:codedefiner
    depends_on:
      - db
    environment:
      Implem.Pleasanter_Rds_PostgreSQL_SaConnectionString: ${Implem_Pleasanter_Rds_PostgreSQL_SaConnectionString}
      Implem.Pleasanter_Rds_PostgreSQL_OwnerConnectionString: ${Implem_Pleasanter_Rds_PostgreSQL_OwnerConnectionString}
      Implem.Pleasanter_Rds_PostgreSQL_UserConnectionString: ${Implem_Pleasanter_Rds_PostgreSQL_UserConnectionString}
volumes:
  pg_data:
    name: ${COMPOSE_PROJECT_NAME:-default}_pg_data_volume
4. Run CodeDefiner
In the project directory, execute the following command.
5. Start and stop Pleasanter
Start Pleasanter
- In the project directory, execute the following command.
- Open http://localhost:50001 in your web browser.
- When the login screen is displayed, enter the following information.
| Login ID | Initial Password |
|---|---|
| Administrator | pleasanter |
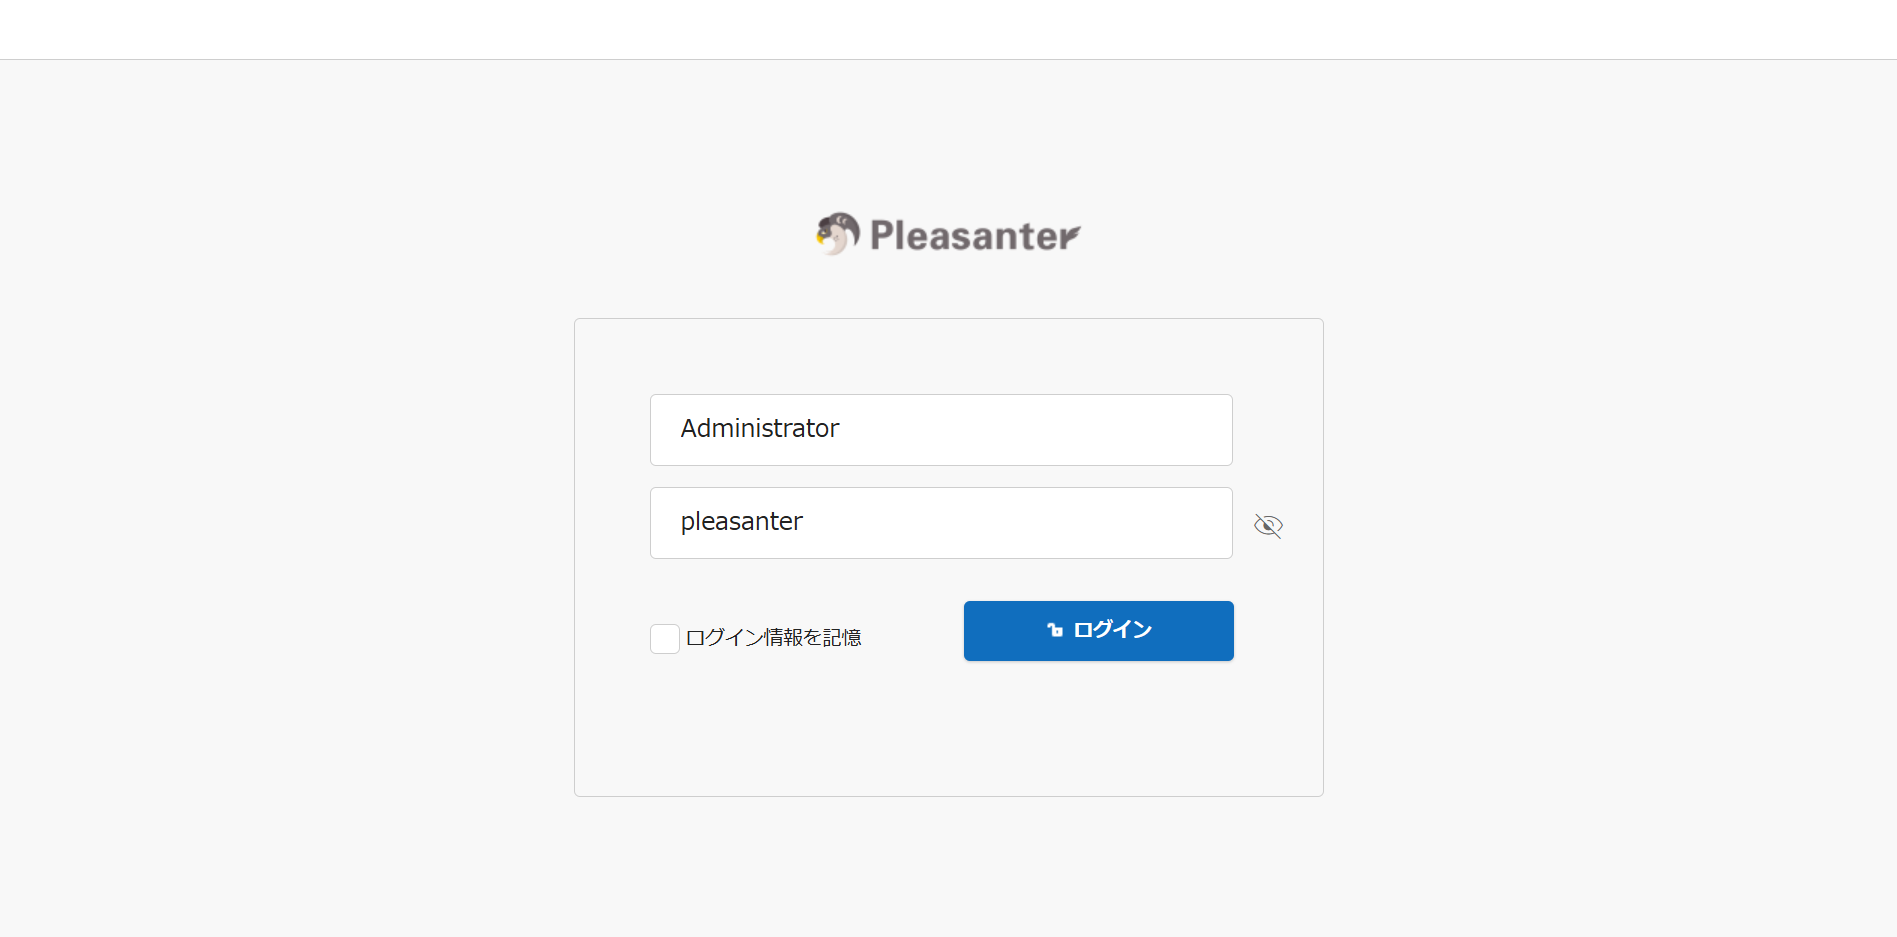
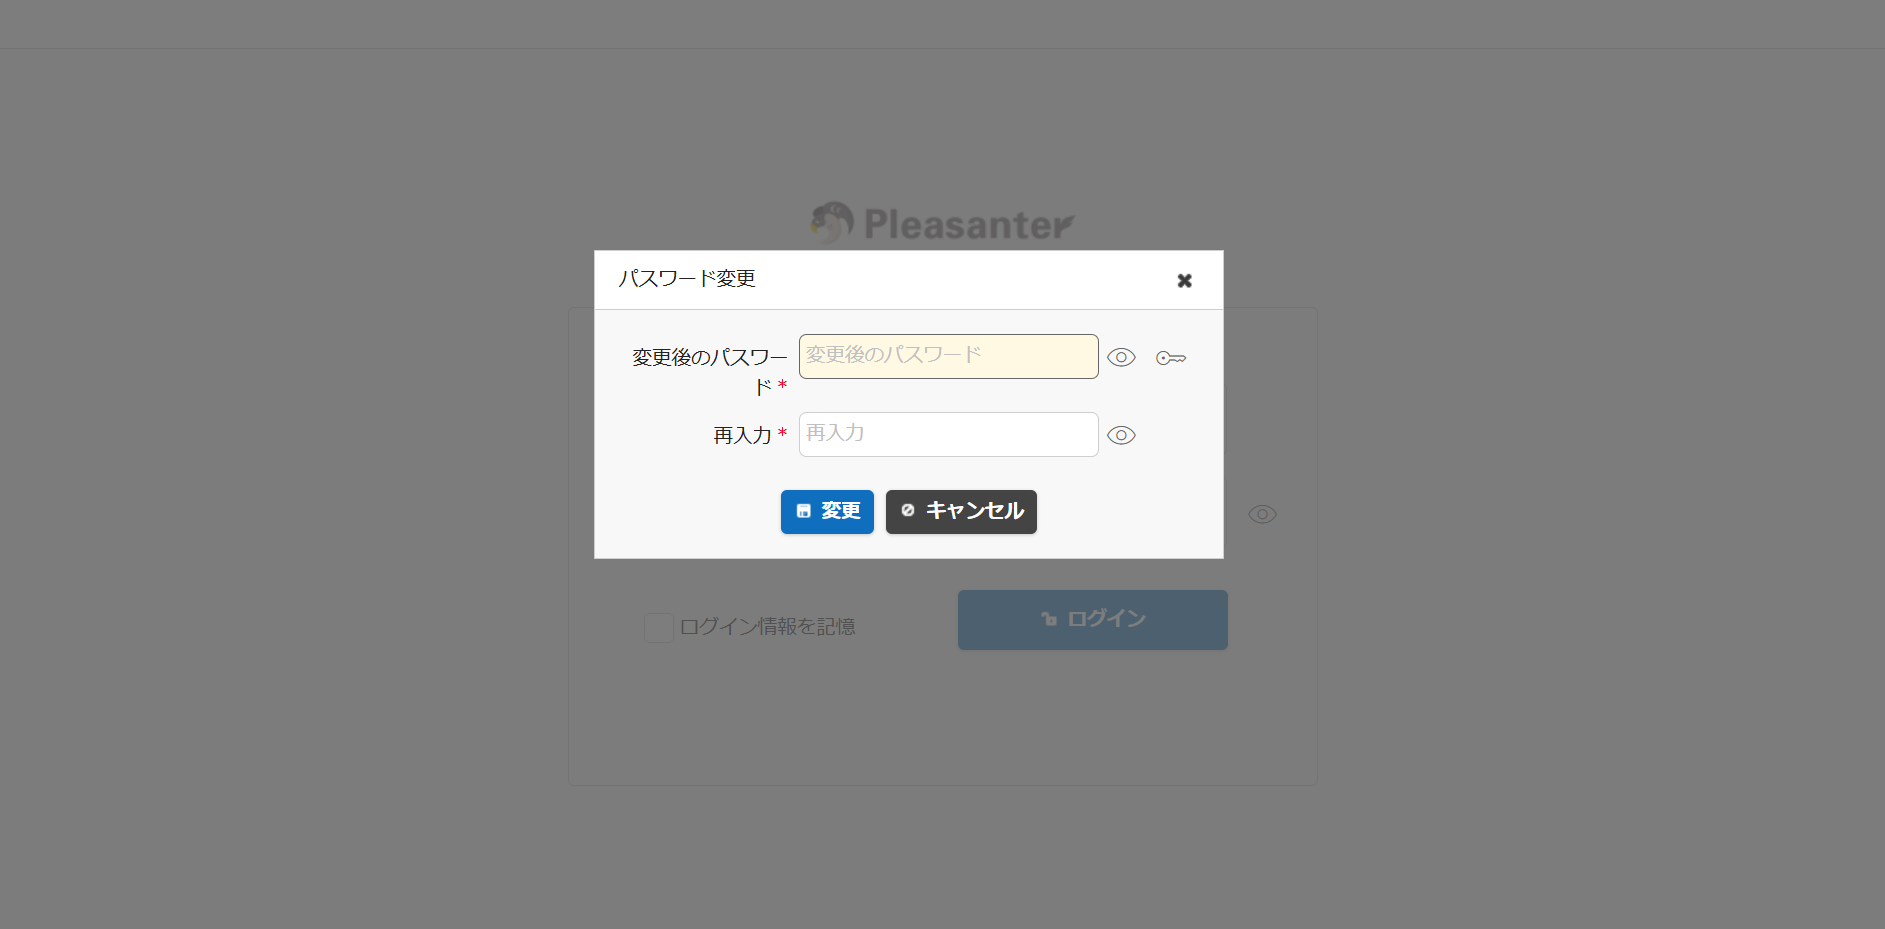
1. Please change to a secure password.
1. Try the hands-on manual.
Stop Pleasanter
- Close the web browser.
- Stop the containers in the project directory.
Start Pleasanter again
- Start the containers in the project directory.
- Open http://localhost:50001 in your web browser.
2. Configure Environment Settings and Launch Pleasanter
If you want to configure the versions of Pleasanter and PostgreSQL, PostgreSQL settings, Pleasanter connection strings, etc., please refer to this procedure.
Read detailed explanation
1. Create Project Directory
Create a project directory in any location to store the two files ".env" and "compose.yaml" that will be explained in the next section. The directory name can be anything.
2. Create .env File
Create a ".env" file containing environment variables such as user and password used for initdb to initialize PostgreSQL, and Pleasanter database connection string settings. The configuration details are as follows:
| No | Configuration Item | Parameter | Example | Notes |
|---|---|---|---|---|
| 1 | PostgreSQL Version | POSTGRES_VERSION | 17 | |
| 2 | PostgreSQL Volume Path | POSTGRES_VOLUMES_TARGET | /var/lib/postgresql/data | For version 18 and later, specify /var/lib/postgresql |
| 3 | PostgreSQL Administrator User Password | POSTGRES_PASSWORD | SetSaPWD | |
| 4 | Sa Connection String Password | Implem_Pleasanter_Rds_PostgreSQL _SaConnectionString PWD | SetSaPWD | Set the same value as No.3 |
| 5 | Owner Connection String Password | Implem_Pleasanter_Rds_PostgreSQL _OwnerConnectionString PWD | SetAdminsPWD | |
| 6 | User Connection String Password | Implem_Pleasanter_Rds_PostgreSQL _UserConnectionString PWD | SetUsersPWD | |
| 7 | Pleasanter Version | PLEASANTER_VERSION | 1.5.0.0 | Specify "latest" to get the latest version at the time of use |
Environment variables starting with POSTGRES are used by the PostgreSQL official Docker image. When the container is initialized, initdb is executed and PostgreSQL initial settings are configured using the environment variable values.
- postgres - Official Image | Docker Hub
- docker-library/postgres: Docker Official Image packaging for Postgres
For details on connection strings, please refer to the following manual:
- Rds.json
Here is an example file. Modify {{ ... }} as appropriate and save as .env in the project directory.
POSTGRES_VERSION={{PostgreSQL Version}}
POSTGRES_VOLUMES_TARGET={{Volumes TargetPath}}
POSTGRES_USER=postgres
POSTGRES_PASSWORD={{Sa Password}}
POSTGRES_DB=postgres
POSTGRES_HOST_AUTH_METHOD=scram-sha-256
POSTGRES_INITDB_ARGS="--auth-host=scram-sha-256"
PLEASANTER_VERSION={{Pleasanter Version}}
Implem_Pleasanter_Rds_PostgreSQL_SaConnectionString="Server=db;Database=postgres;UID=postgres;PWD={{Sa Password}}"
Implem_Pleasanter_Rds_PostgreSQL_OwnerConnectionString="Server=db;Database=#ServiceName#;UID=#ServiceName#_Owner;PWD={{Owner password}}"
Implem_Pleasanter_Rds_PostgreSQL_UserConnectionString="Server=db;Database=#ServiceName#;UID=#ServiceName#_User;PWD={{User password}}"
3. Docker Compose File
Create a compose.yaml file with the following content:
services:
  db:
    container_name: postgres
    image: postgres:${POSTGRES_VERSION}
    environment:
      - POSTGRES_USER
      - POSTGRES_PASSWORD
      - POSTGRES_DB
      - POSTGRES_HOST_AUTH_METHOD
      - POSTGRES_INITDB_ARGS
    volumes:
      - type: volume
        source: pg_data
        target: ${POSTGRES_VOLUMES_TARGET}
  pleasanter:
    container_name: pleasanter
    image: implem/pleasanter:${PLEASANTER_VERSION}
    depends_on:
      - db
    ports:
      - '50001:8080'
    environment:
      Implem.Pleasanter_Rds_PostgreSQL_SaConnectionString: ${Implem_Pleasanter_Rds_PostgreSQL_SaConnectionString}
      Implem.Pleasanter_Rds_PostgreSQL_OwnerConnectionString: ${Implem_Pleasanter_Rds_PostgreSQL_OwnerConnectionString}
      Implem.Pleasanter_Rds_PostgreSQL_UserConnectionString: ${Implem_Pleasanter_Rds_PostgreSQL_UserConnectionString}
  codedefiner:
    container_name: codedefiner
    image: implem/pleasanter:codedefiner
    depends_on:
      - db
    environment:
      Implem.Pleasanter_Rds_PostgreSQL_SaConnectionString: ${Implem_Pleasanter_Rds_PostgreSQL_SaConnectionString}
      Implem.Pleasanter_Rds_PostgreSQL_OwnerConnectionString: ${Implem_Pleasanter_Rds_PostgreSQL_OwnerConnectionString}
      Implem.Pleasanter_Rds_PostgreSQL_UserConnectionString: ${Implem_Pleasanter_Rds_PostgreSQL_UserConnectionString}
volumes:
  pg_data:
    name: ${COMPOSE_PROJECT_NAME:-default}_pg_data_volume
The file layout should be as follows:
2. Execute CodeDefiner
Execute CodeDefiner with the following command in the project directory:
| Argument | Example | Description |
|---|---|---|
| /l | ja | Rewrites the DefaultLanguage value in Service.json (※1) |
| /z | Asia/Tokyo | Rewrites the TimeZoneDefault value in Service.json (※1) |
(※1) For language and timezone, please refer to the following manual page:
FAQ: I want to know the parameter setting values for languages and timezones supported by Pleasanter
For use in a Japanese environment, use the following command:
When "Type "y" (yes) if the license is correct, otherwise type "n" (no)." is displayed, enter y.
※The version is output to the console log as follows. The version displayed here is always "the latest version of Pleasanter published on DockerHub". This console log display specification applies even when a version earlier than the latest is specified in {{Version}} in compose.yaml, but the database is created with content compliant with {{Version}}, so there are no operational issues with Pleasanter.
3. Launch Pleasanter
Execute the following command in the project directory to create containers and launch Pleasanter:
Access the following URL in your browser:
On the login screen, enter "Login ID: Administrator" and "Initial Password: pleasanter". After logging in, you will be prompted to change your password, so set an appropriate password.
4. Stop and Remove Containers
To stop containers, execute the following command in the project directory:
To restart stopped containers, execute the following command in the project directory:
Stopping containers does not delete DB data. The data can be used as-is when restarting.
To remove containers, execute the following command in the project directory. Removing containers does not delete DB data (volumes). Note that once containers are removed, they cannot be restarted.
If you want to launch again after removing containers, create containers by executing the following command in the project directory. This will also create the DB container and the remaining DB data can be used as-is.
To delete data (volumes) at the same time when removing containers, execute with the option to delete volumes:
Related Information
Use a Docker Image and Start It by Changing the Parameters from the Default
Use a Docker image and start it with MySQL as the DB
Upgrade the Docker Image of Pleasanter