Enable Windows Features (Windows Server 2025)
Enable Windows Features
- Start "Server Manager".
- Open the "Manage" menu and click "Add Roles and Features".
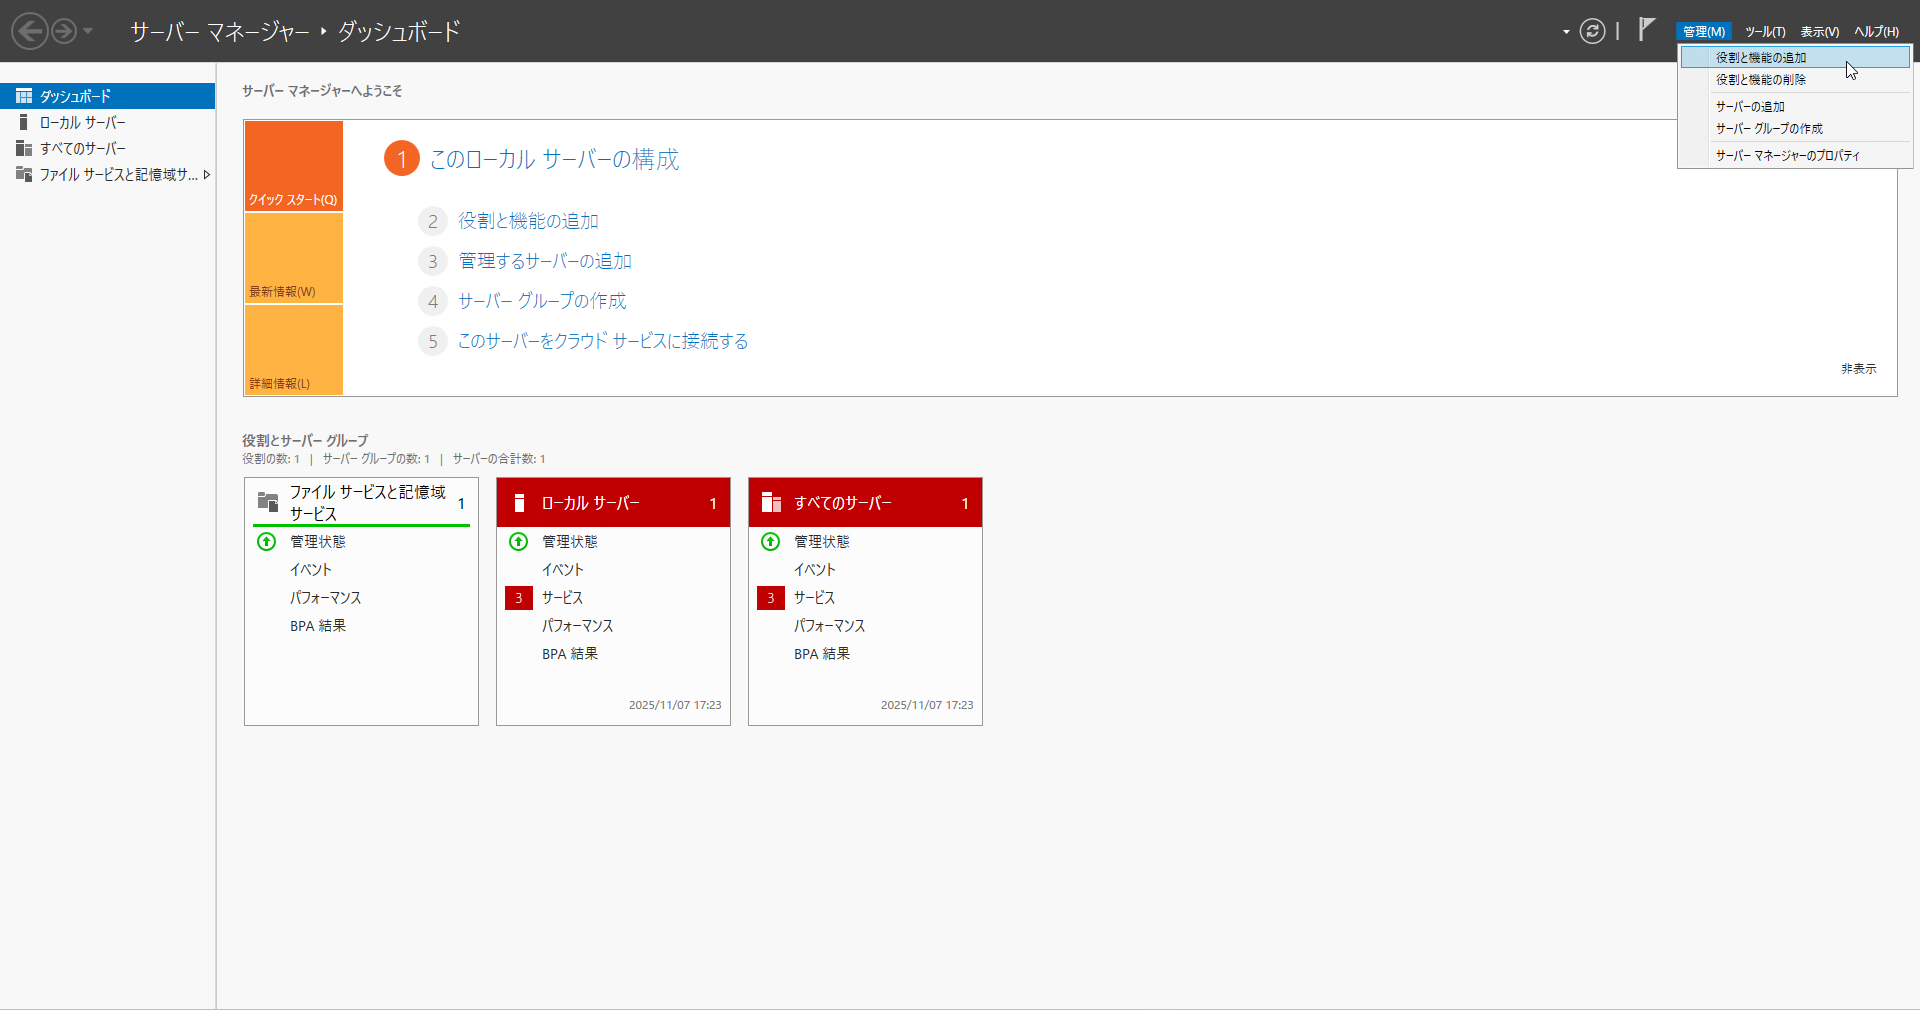
- The "Before you begin" screen is displayed, so click the "Next" button.

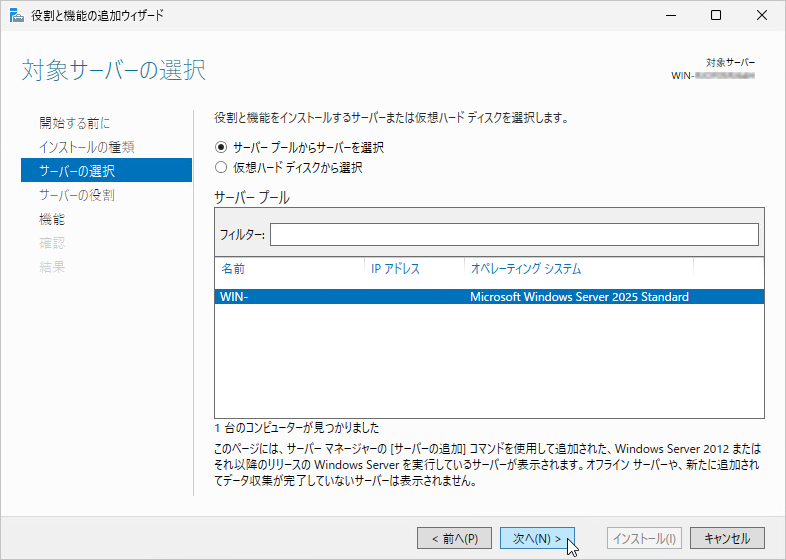
- The "Select installation type" screen is displayed, so click the "Next" button.

- The "Select destination server" screen is displayed, so select the target server and click the "Next" button.
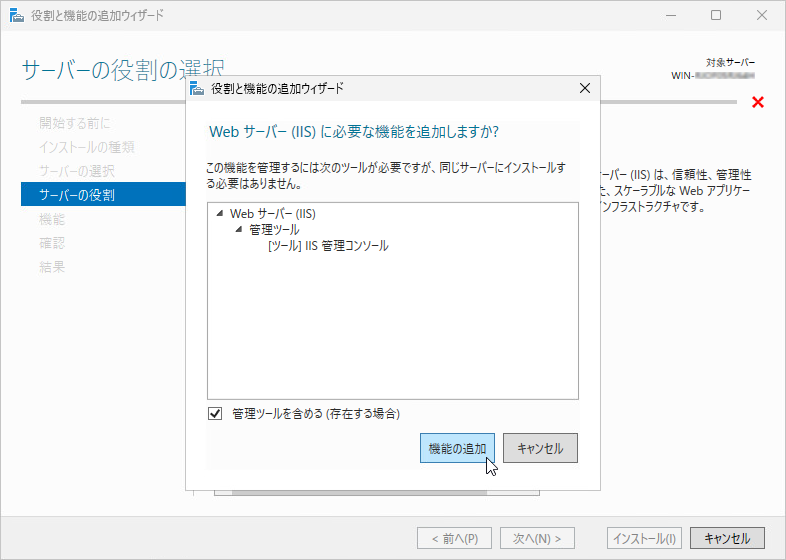
- The "Select server roles" screen is displayed, so check "Web Server (IIS)".

- The "Add features that are required for Web Server (IIS)?" screen is displayed, so check "Include management tools (if applicable)" and click the "Add Features" button.
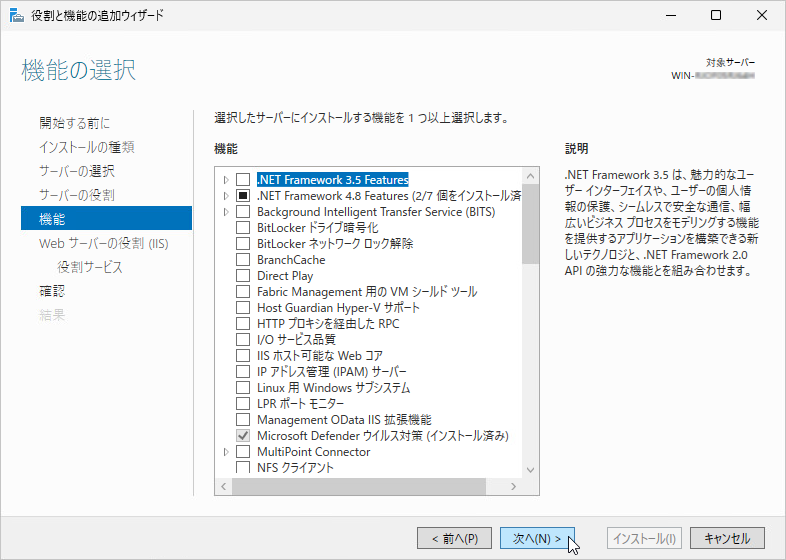
- Confirm that "Web Server (IIS)" is checked and click the "Next" button.

- The "Select features" screen is displayed, so click the "Next" button.
- The "Web Server Role (IIS)" screen is displayed, so click the "Next" button.

- The "Select role services" screen is displayed, so click the "Next" button.

- The "Confirm installation selections" screen is displayed, so click the "Install" button.

- Wait for the installation to complete.

- After the installation completes, click the "Close" button.

Changing the IIS Settings
- Open the "Tools" menu of "Server Manager" and start "Internet Information Services (IIS) Manager".

- Select "DefaultAppPool" under "Application Pools" and click "Set Application Pool Defaults".

- Change "Idle Time-out Action" under "Process Model" from "Terminate" to "Suspend" and click "OK".
