Procedure for Migrating Pleasanter 1.4 Installed on Ubuntu to Pleasanter 1.5
Overview
These are the steps to migrate Pleasanter 1.4 installed on Ubuntu to Pleasanter 1.5. For other distributions, read them as appropriate.
| Target | Before the Migration | After the Migration |
|---|---|---|
| OS | Ubuntu | Ubuntu |
| DB | PostgreSQL | PostgreSQL |
| Web server | Nginx | Nginx |
| Platform | .NET 8.0 | .NET 10.0 |
| Pleasanter | Pleasanter 1.4 | Pleasanter 1.5 |
Prerequisites
- The user that starts Pleasanter is registered.
in these steps refers to this user. - These steps assume that .NET is installed in /usr/local/bin. If you install .NET in a different directory, for example because you need several versions of .NET in the same environment, change the directory specified for ExecStart when you run CodeDefiner and when you create the script for the Pleasanter service, to match where you installed it.
Checking Beforehand
Check the version of Pleasanter installed on Ubuntu.
- Log in to Pleasanter.
- Click "Version" from "Help" at the top right of the screen.
- Confirm that the version is "1.4.x.x".
Preparations
Taking a backup of the database
- Log in to the server on which Pleasanter is installed (hereafter the server) and stop Pleasanter with the following command.
- Take a backup of the Pleasanter database.
PostgreSQL database backup and restore procedure
1. Installing .NET 10.0
- Log in to the server and run the following commands.
sudo wget https://dot.net/v1/dotnet-install.sh -O dotnet-install.sh
sudo chmod +x ./dotnet-install.sh
sudo ./dotnet-install.sh -c 10.0 -i /usr/local/bin
dotnet --version
If you change the installation destination of .NET from /usr/local/bin in the third command above, change the directory specified for ExecStart when you run CodeDefiner and when you create the script for the Pleasanter service, to match where you installed it.
For details, refer to Scripted install below.
https://learn.microsoft.com/dotnet/core/install/linux-scripted-manual#scripted-install
There are also cases where an error about a particular file occurs when you run the dotnet command. In that case, refer to the following.
https://learn.microsoft.com/dotnet/core/install/linux-package-mixup?pivots=os-linux-ubuntu
2. Installing / Updating the Installer
Run this even if it is already installed. If the installer has been upgraded, it is updated.
Run the following commands to install the installer.
dotnet tool install -g Implem.PleasanterSetup
echo 'export PATH="$PATH:~/.dotnet/tools"' >> ~/.bashrc
echo 'export DOTNET_ROOT=/usr/local/bin' >> ~/.bashrc
echo 'export PATH=$PATH:$DOTNET_ROOT' >> ~/.bashrc
source ~/.bashrc
If you are not connected to the internet, install it with the following steps.
(Click here to open and close the details)
- Run the following command to create the folder in which to place the .nupkg file.
These steps use /dotnet-tools as an example.
- Open the NuGet Gallery of Implem.PleasanterSetup from here and download the .nupkg file from (1) "Download package" in the image.

- Place the .nupkg file you downloaded in step 2 in /dotnet-tools.
- Copy the command at (2) in the image.
- Run the following commands.
<the command you copied in step 4> --add-source /dotnet-tools
echo 'export PATH="$PATH:~/.dotnet/tools"' >> ~/.bashrc
echo 'export DOTNET_ROOT=/usr/local/bin' >> ~/.bashrc
echo 'export PATH=$PATH:$DOTNET_ROOT' >> ~/.bashrc
source ~/.bashrc
Example: when the Version of Implem.PleasanterSetup is 1.0.1
3. Running the Installer
-
The resources of the latest version and ParametersPatch.zip are downloaded and the version upgrade is run.
-
Run the command below to run the installer.
If you are not connected to a network environment, follow the steps below.
(Click here to open and close the details)
-
Download the latest version of Pleasanter from the download centre and place it in "/web/".
-
Download the ParametersPatch.zip for the same version as the one you placed, from the GitHub releases page, and place it in "/web/".
-
Run the command below.
Confirm that the structure under the /web/ directory is as follows.
-
-
Enter the directory in which Pleasanter is installed.
If you install it in "/web/pleasanter", press the Enter key without entering anything.

-
Enter
.

-
The summary screen is displayed.
Check the content, enter y after "Shall I install Pleasanter with this content? Please enter 'y(yes)' or 'n(no)'. : " and press the Enter key to run it. -
Passwords are masked.

-
When "Type "y" (yes) if the license is correct, otherwise type "n" (no)." is displayed, enter y and run it.
-
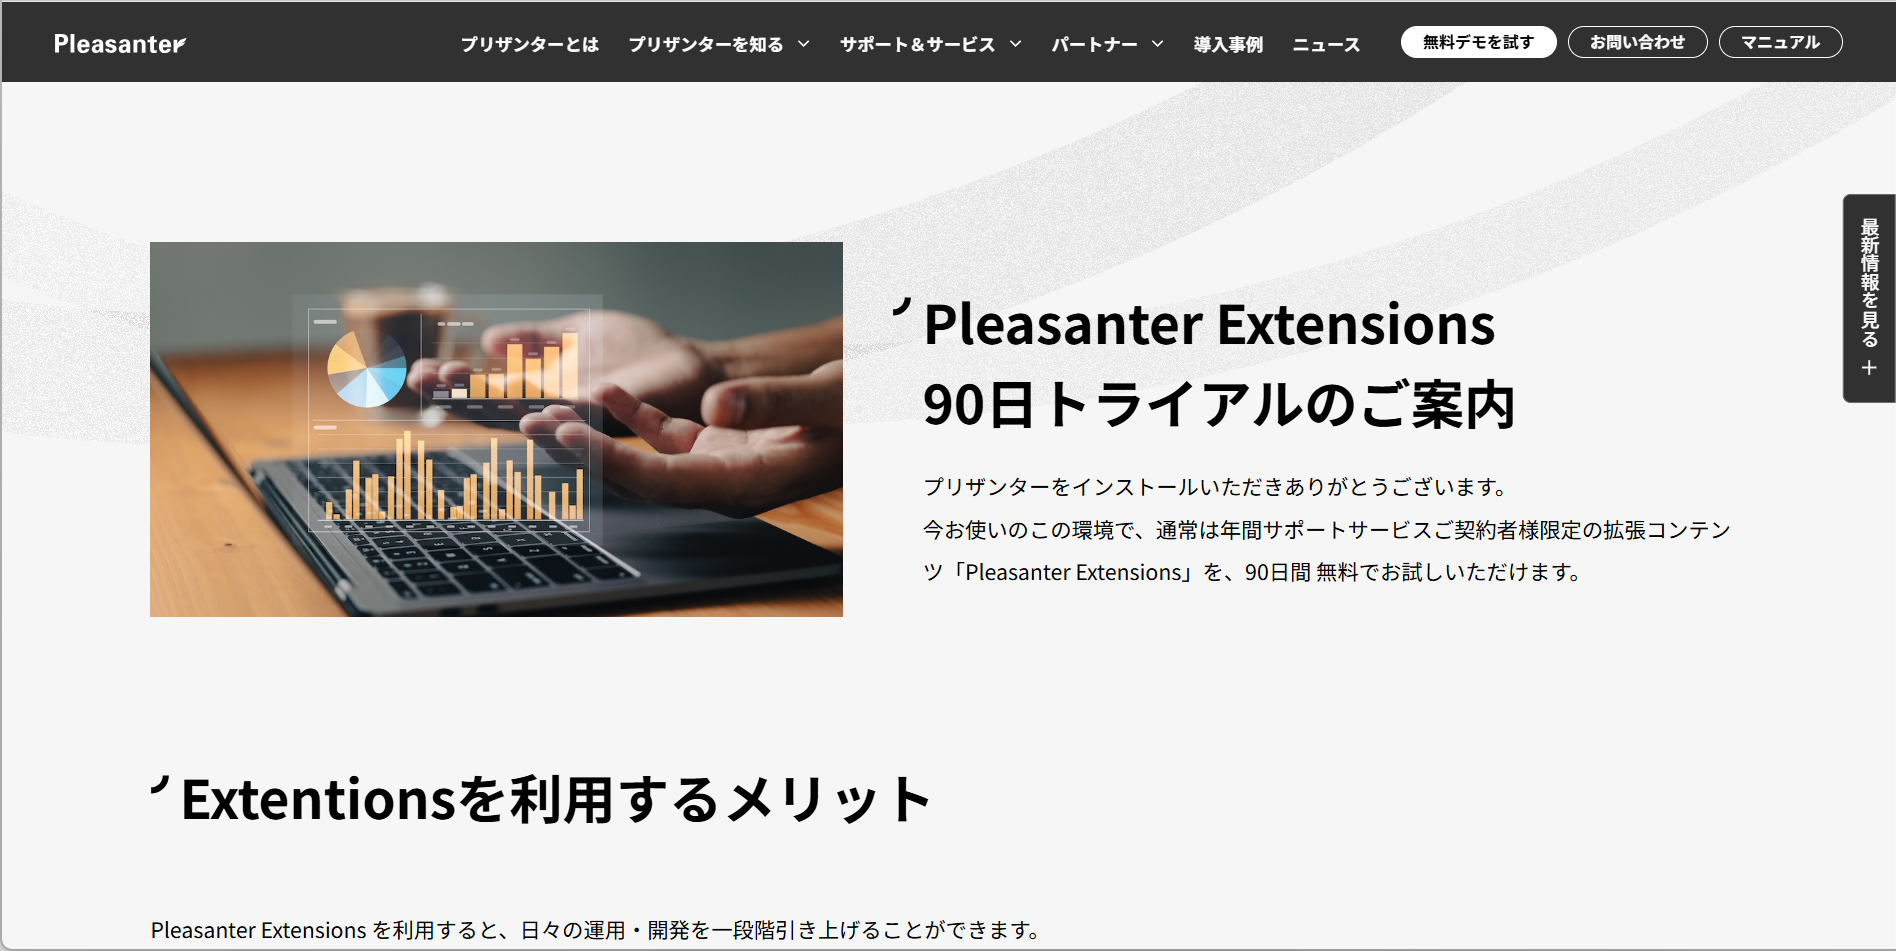
When the setup finishes, a web browser starts and the Pleasanter Extensions trial information page is displayed.
4. Starting Pleasanter
- Start Pleasanter.
- Start a browser and log in to Pleasanter.
- After you log in, click "Help" - "Version" on the navigation menu and confirm that the version is correct.

5. Other
Restoring the database
If you need to restore the database, do so with reference to the page below.