Migration Procedure from Pleasanter 1.4 Installed on Windows/Windows Server to Pleasanter 1.5
Overview
This is the procedure for migrating a Windows Server installed Pleasanter to Pleasanter 1.5.
| Target | Before migration | After migration |
|---|---|---|
| OS | Windows/Windows Server | Windows/Windows Server |
| DB | SQL Server | SQL Server |
| Web Server | IIS | IIS |
| Platform | .NET 8.0 | .NET 10.0 |
| Pleasanter | Pleasanter 1.4 | Pleasanter 1.5 |
Cautions
- Before carrying out this procedure, please make a backup of the system and database.
Advance Confirmation
Confirm the version of Pleasanter installed on Windows/Windows Server.
- Log in to Pleasanter.
- Click "Help" in the upper right corner and select "Version".
- Confirm that the version is "1.4.x.x".
Preparations
Backup Database
-
Open the "Tools" menu of "Server Manager" and launch "Internet Information Services (IIS) Manager".
-
Select the server name in the left pane, click "Stop" in the right pane, and stop IIS.

-
Back up the Pleasanter database.
FAQ: I want to backup Pleasanter's DB data regularly (SQL Server)
Backup Modules
- Rename the existing C:\web\pleasanter to C:\web\pleasanter_bk and back it up.
Install .NET10.0
Warning
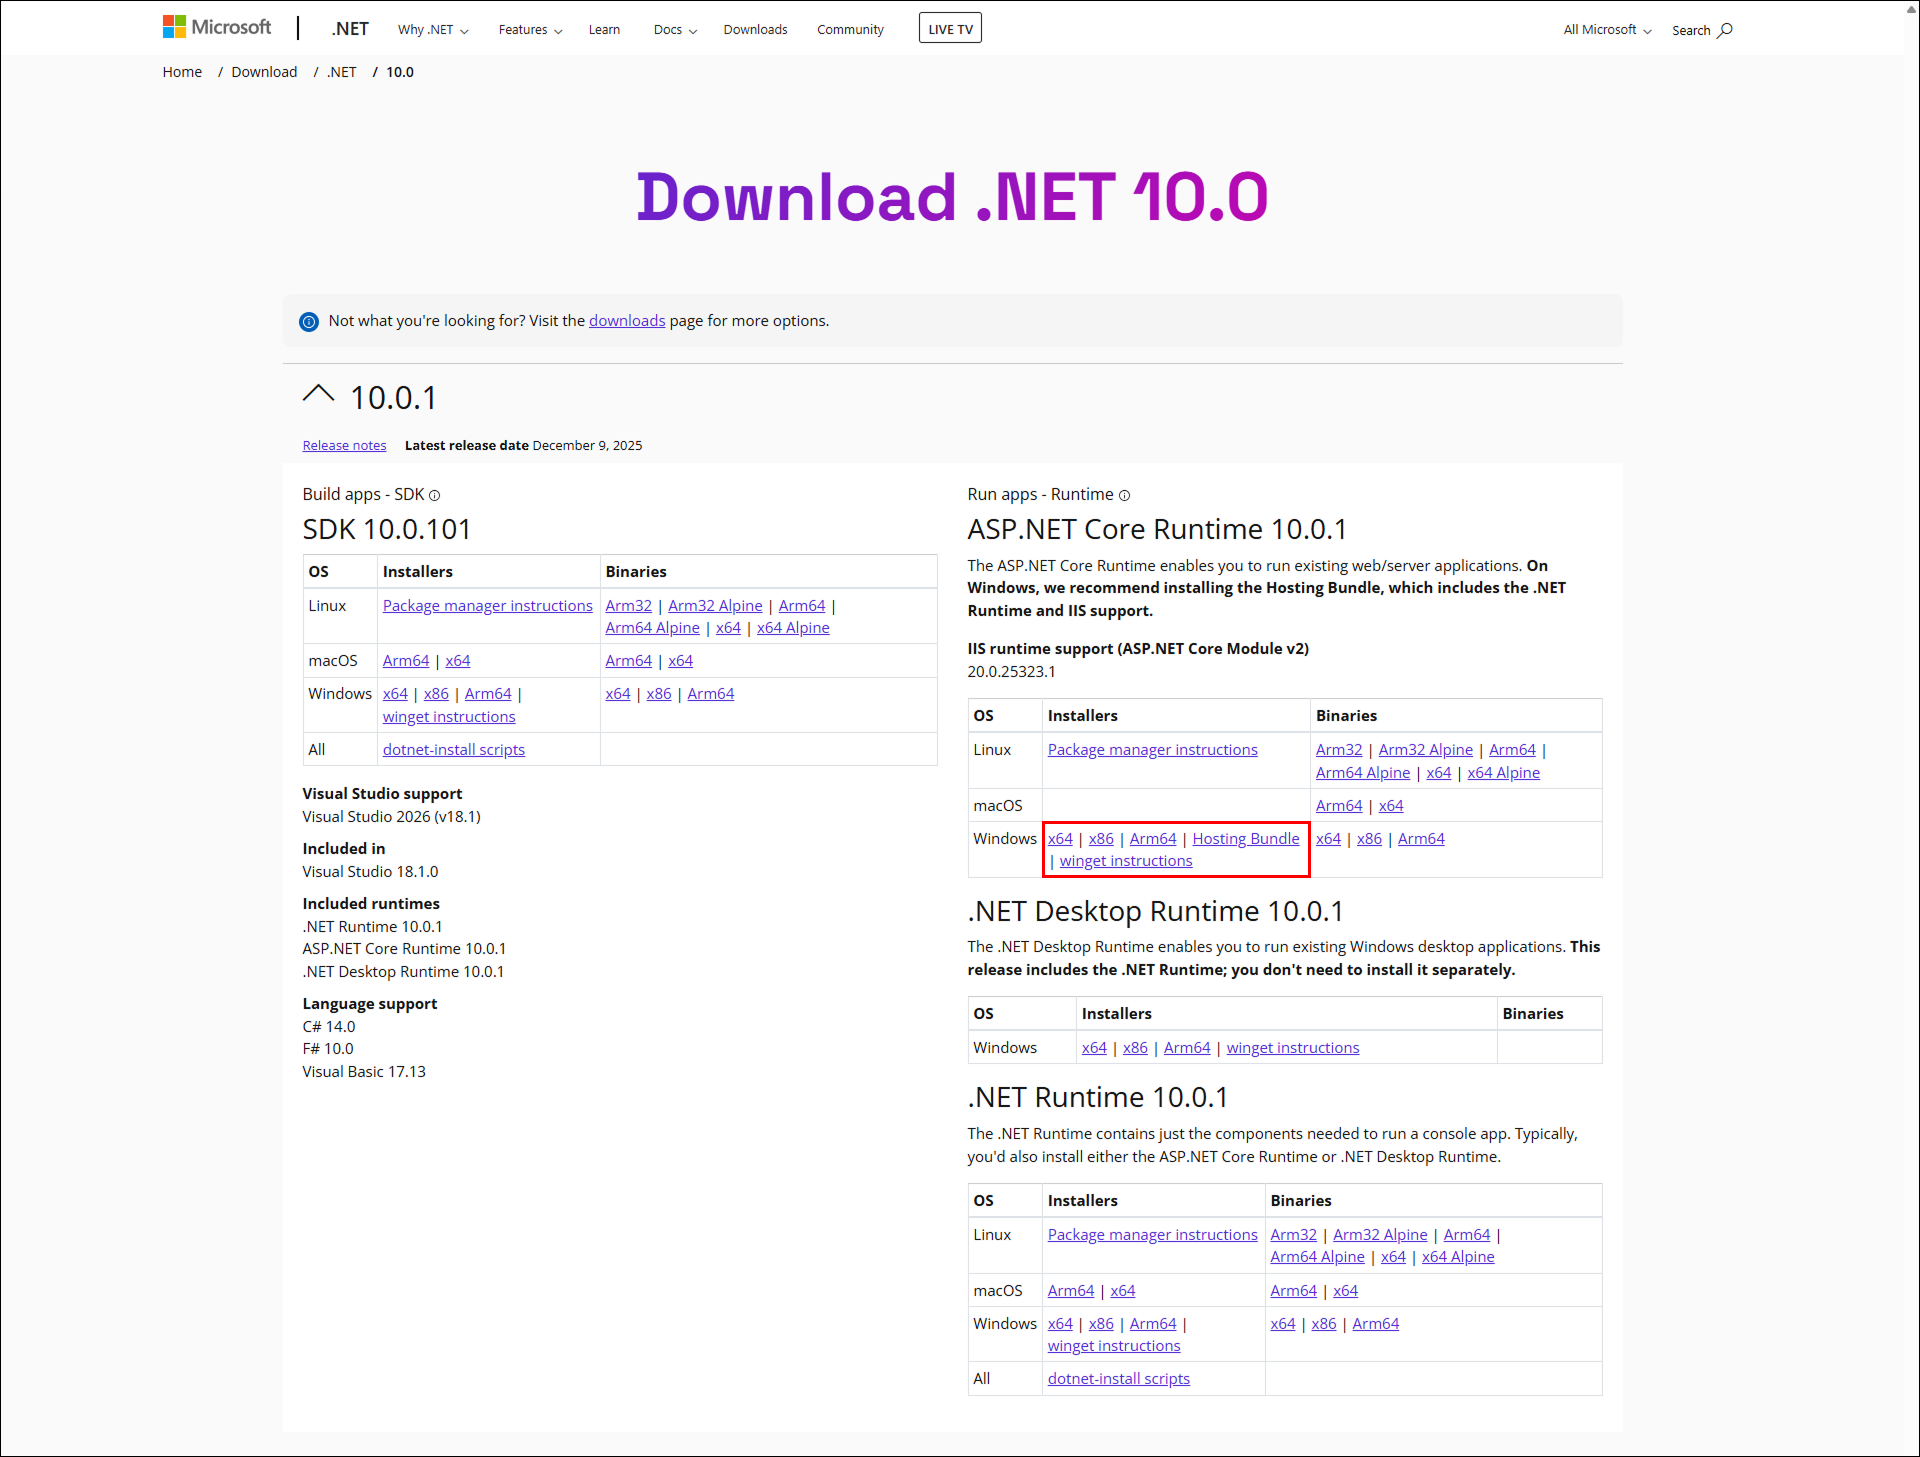
Please install both the "SDK 10.0.x" of .NET10.0 and "Hosting Bundle".
Procedure
The installation procedure for .NET is as follows:
1. Install the SDK
1. Install the Hosting Bundle
Install the SDK
-
Launch your browser and access the following URL.
https://dotnet.microsoft.com/download/dotnet/10.0 -
Download and install "SDK 10.0.x".

-
Launch the Command Prompt or PowerShell and execute the following command to confirm that "10.0.x" is displayed.
Install the Hosting Bundle
- Download and install the "Hosting Bundle".
Installing/Updating the Installer
Even if already installed, please be sure to execute this. If the installer has been upgraded, it will perform an update installation.
Execute the following command to install the installer.
If not connected to the internet, please install using the following procedure.
(Click here to expand/collapse details)
- Execute the following command to create an arbitrary folder to place the .nupkg file.
※This procedure explains the case of creating C:\dotnet-tools.
- Open the Nuget Gallery for Implem.PleasanterSetup from here and download the .nupkg file from ① "Download package" in the image.

- Place the .nupkg file downloaded in step 2.2 in C:\dotnet-tools.
- Copy the command from ② in the image.
- Execute the following command.
Example: When Implem.PleasanterSetup Version is 1.0.1
Executing the Installer
Download the latest version resources and ParametersPatch.zip, and execute the version upgrade.
- Execute the following command to run the installer.
If not connected to the internet, please follow these steps.
- Download the latest version of Pleasanter from the Download Center and place it in "C:\web\".
- Download the ParametersPatch.zip for the same version as the one you placed from the GitHub Release Notes and place it in "C:\web\".
- Confirm that the structure under "C:\web\" is as follows.
- Execute the following command.
- Enter the directory where Pleasanter is installed.
If it is installed in "C:\web\pleasanter", press Enter without entering anything.

- A summary screen will be displayed.
Review the content and enter y after "Shall I install Pleasanter with this content? Please enter 'y(yes)' or 'n(no)'. : " and press Enter to execute.
The password is masked.

- When "Type "y" (yes) if the license is correct, otherwise type "n" (no)." is displayed, enter y to execute.
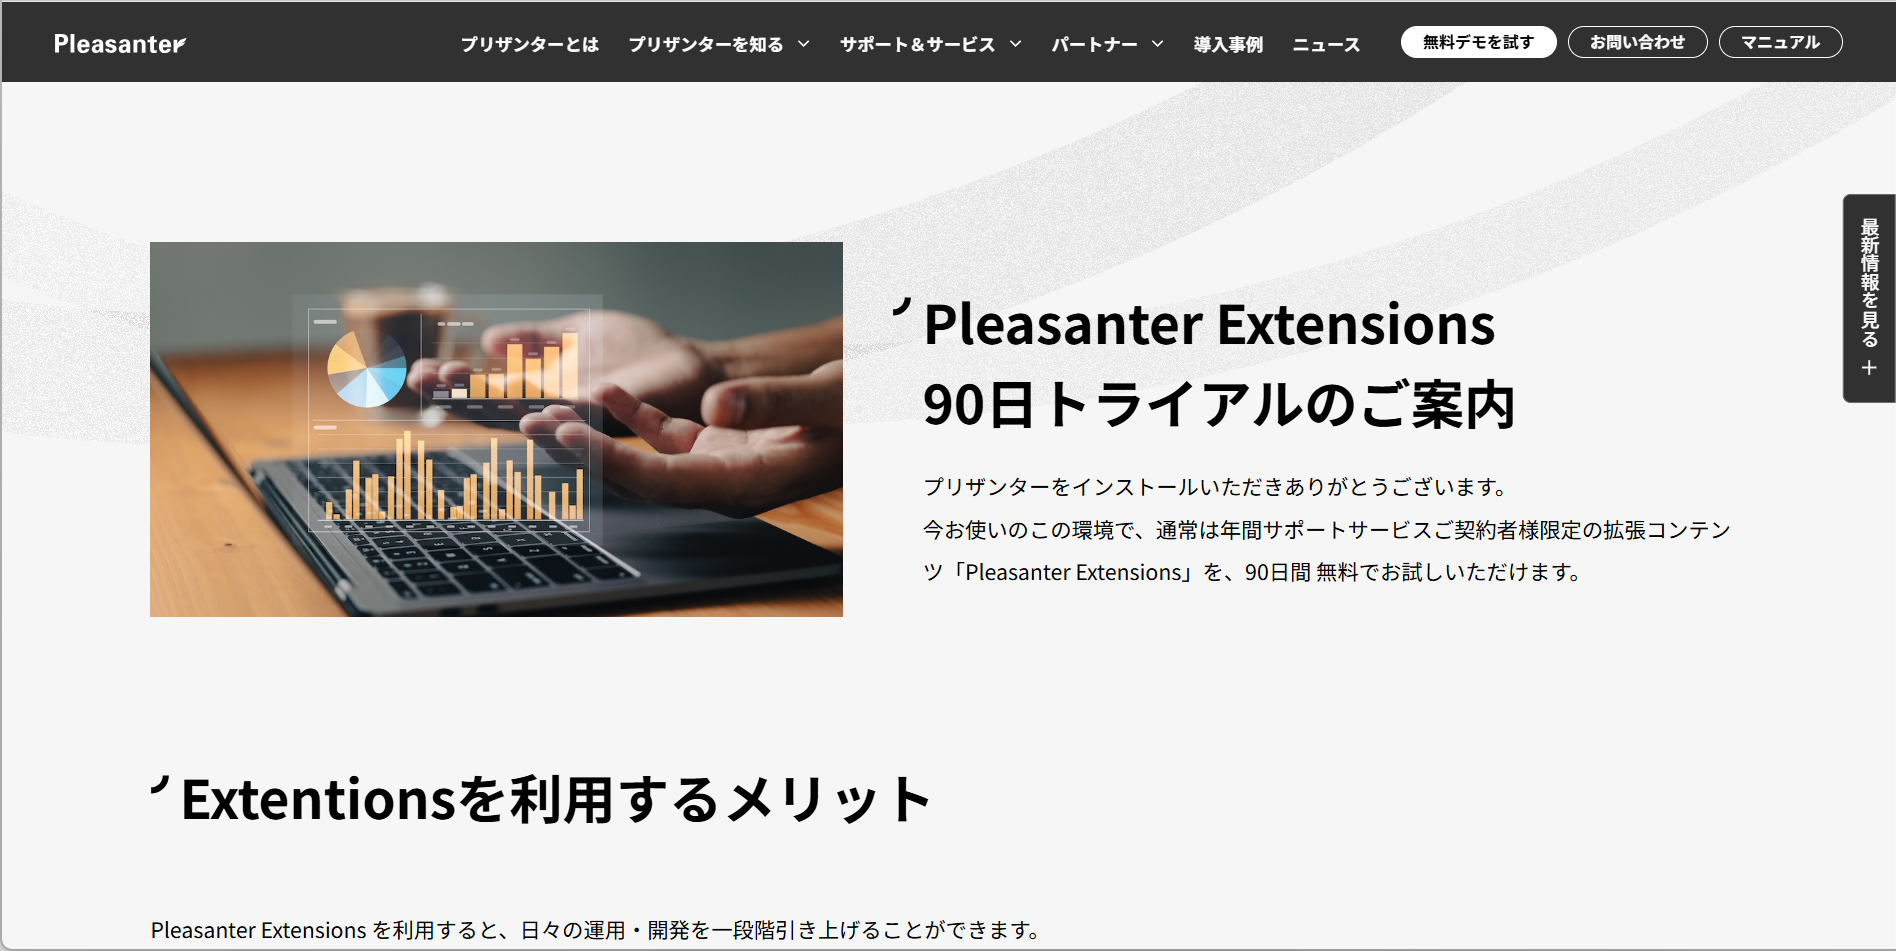
- For installer version 1.1.2 (Implem.PleasanterSetup.1.1.2.nupkg) and later, when setup is complete, a web browser will launch and display the Pleasanter Extensions Trial information page.
Checking the Connection Strings
If you use SQL Server without a TLS server certificate as the database, such as in a development environment, add TrustServerCertificate=True; to the end of each connection string.
RDS.json (excerpt of the relevant part)
    "SaConnectionString": "Server=(local);Database=master;UID=sa;PWD=<password for the SQL Server sa account>;Connection Timeout=30;TrustServerCertificate=true;",
    "OwnerConnectionString": "Server=(local);Database=#ServiceName#;UID=#ServiceName#_Owner;PWD=<any password>;Connection Timeout=30;TrustServerCertificate=true;",
    "UserConnectionString": "Server=(local);Database=#ServiceName#;UID=#ServiceName#_User;PWD=<any password>;Connection Timeout=30;TrustServerCertificate=true;",
For details, see Notes on Connection Strings When Using SQL Server as the Database in Pleasanter.
Start Pleasanter
-
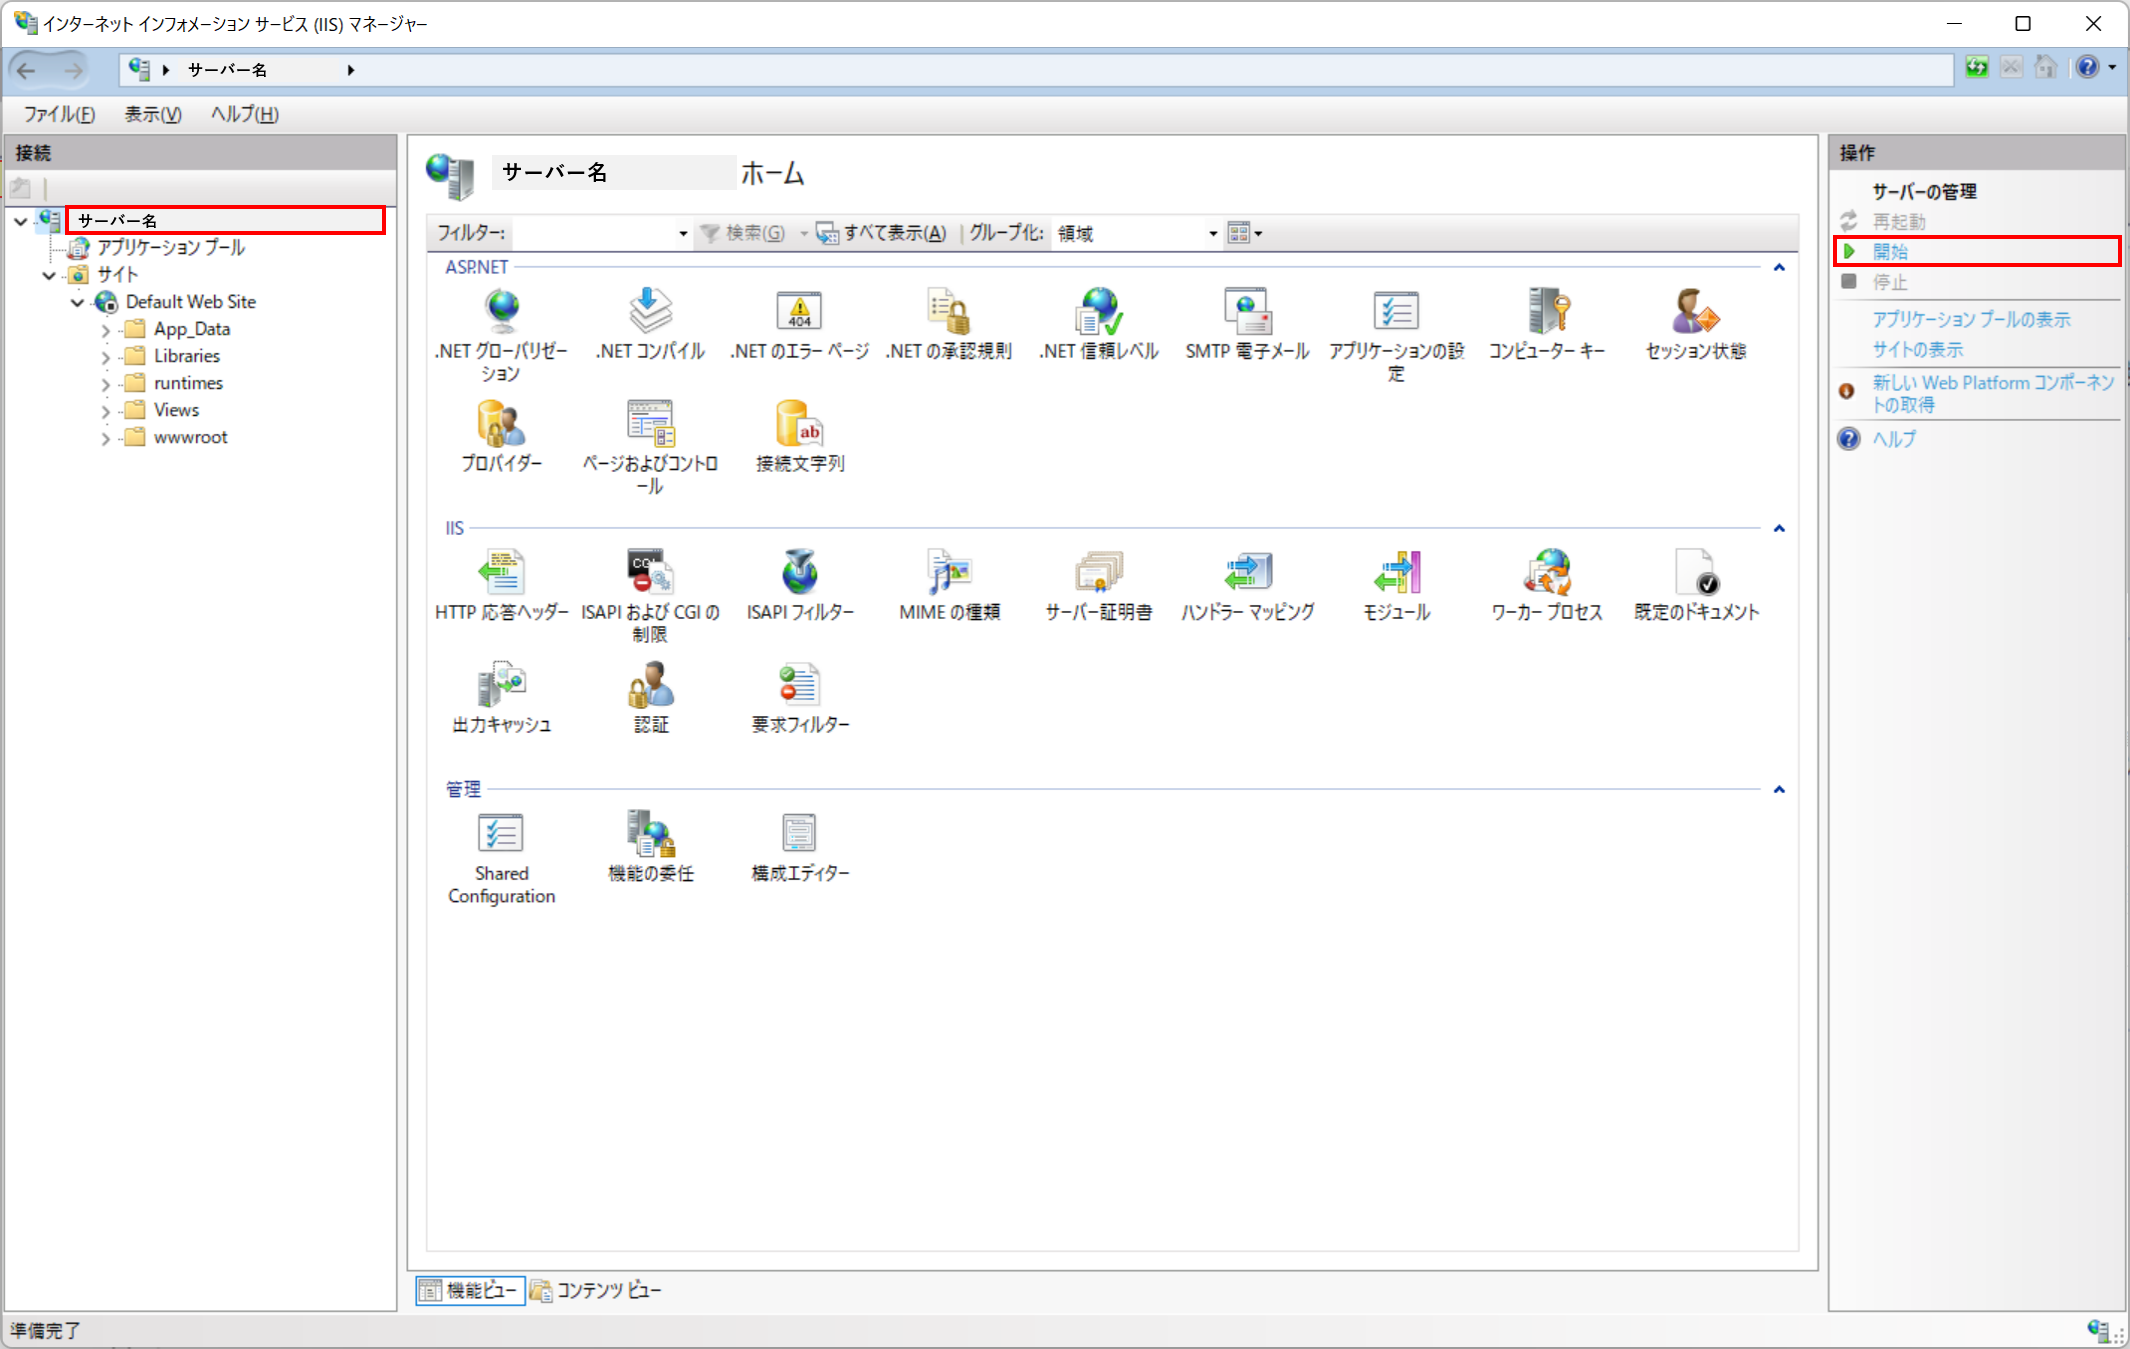
Open the "Tools (T)" menu in "Server Manager" and start "Internet Information Services (IIS) Manager".
-
Select "Server name" from the left pane. Click "Start" on the right pane to start IIS.
-
After starting, select "Site" - "Default Web Site" from the left pane, click "*.80 (http) Reference" on the right pane, and start Pleasanter.

-
After logging in, click "Help" - "Version" in the navigation menu and confirm that the version is correct.
